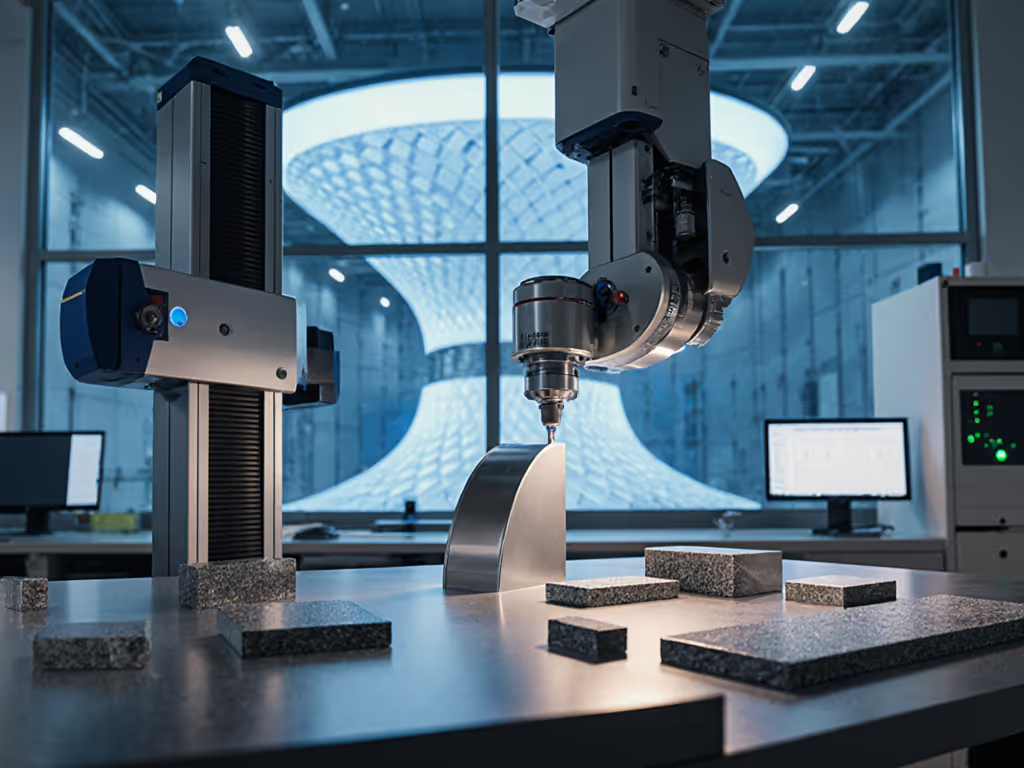
Top 5 AI Dimensional Scanners for Real-World Quality Control
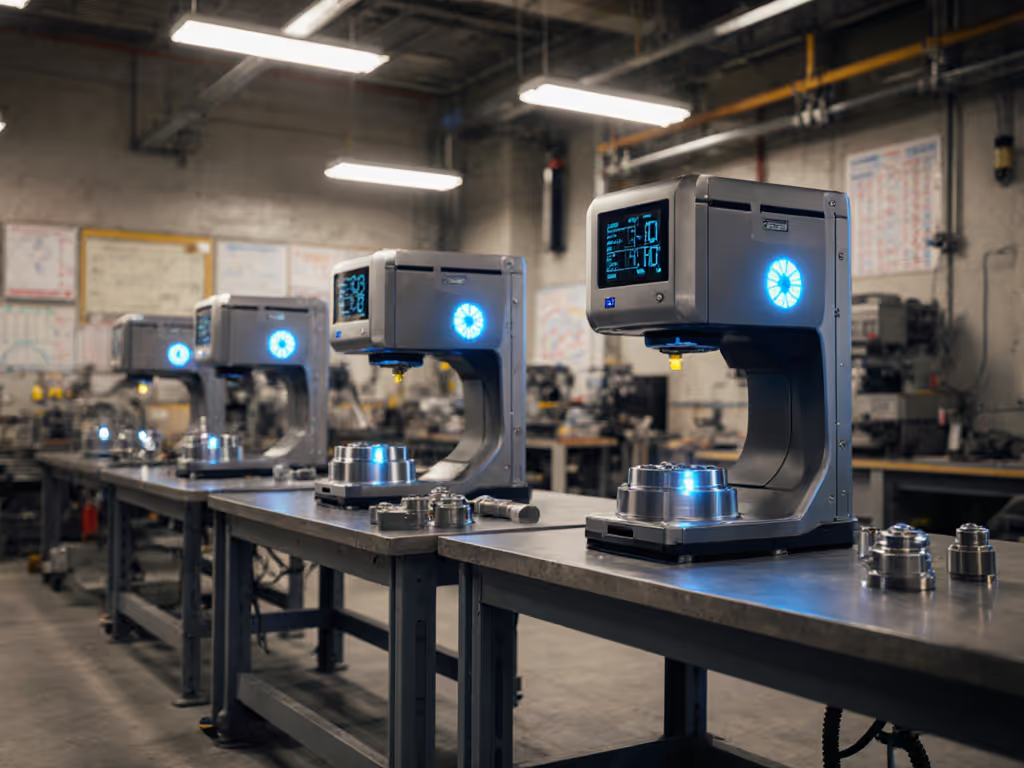
Let's talk straight about AI dimensional scanners and how they're changing the game for quality control tools in manufacturing. For background on how AI is reshaping measurement itself, see AI in metrology. I've spent 15 years coaching operators on the shop floor, and I've seen too many expensive measurement systems gather dust because they didn't account for the reality of gloved hands, coolant mist, and takt time pressure. The truth is, accuracy specs on paper mean nothing if your team can't repeat measurements shift after shift. Repeatability lives in how humans touch tools, not just specs.
I remember when we swapped a beloved digital caliper after discovering operators "thumbed" different pressure. A simple force-limiting device and a two-minute teach-back cut our GR&R from 38% to 12%. To cut variation further, review common measurement error types and how they impact GR&R. If operators can't repeat it, it doesn't measure. That's why this review focuses on systems built for glove-on usability first, specs second.
Why Most AI Scanners Fail on the Shop Floor
Before we get to the top systems, let's address why AI dimensional technology often disappoints in real-world settings:
- The Spec Sheet Trap: Many systems advertise micron-level accuracy but fail to disclose required environmental conditions.
- Operator Workflow Mismatch: Tools that require perfect lighting, temperature control, or specialized training don't survive the production floor.
- Data Integration Failures: Systems that can't feed clean data into your SPC or QMS become shelf queens.
- Ergonomic Nightmares: Devices requiring fine motor skills or perfect positioning guarantee inconsistent results.
Your measurement system isn't just hardware, it is a complete human-machine process that must survive 200 parts per hour, changing shifts, and production line integration realities.
How to Evaluate AI Dimensional Scanners: An Operator-First Checklist
Don't get distracted by flashy demos. Before purchasing, run this quick checklist with your actual operators:
Step 1: Verify Real-World Repeatability (Not Just Accuracy)
Teach-back cue: "Show me how you'd measure this five times in a row."
- Have operators perform the measurement procedure 10 times under normal production conditions
- Document environmental conditions (temperature, lighting, vibration)
- Calculate actual GR&R before investing
- Visual anchor: Tape a sample part to the workstation with "Measure Here" arrows
Safety reminder: Always test under PPE conditions (gloves change everything).
Step 2: Test Adaptive Measurement Systems Under Pressure
Teach-back cue: "What would you do if the scanner showed an error during rush hour?"
- Simulate production line integration with machine vibration
- Have operators wear standard shop-floor gloves during testing
- Run the system during shift change to evaluate transition reliability
- Visual anchor: Create a quick-reference troubleshooting card taped next to the scanner
Step 3: Validate Data Flow to Your Quality System
Teach-back cue: "Walk me through how this measurement gets into your daily report."
- Trace one measurement from scanner to final report
- Check for manual data entry points
- Verify timestamp accuracy (critical for measurement traceability)
- Visual anchor: Print a sample data output sheet showing clear audit trail
Safety reminder: Ensure data doesn't get lost during power fluctuations or network drops.
Top 5 AI Dimensional Scanners That Work on the Real Shop Floor
After testing dozens of systems across aerospace, medical device, and automotive facilities, these five deliver true glove-on usability while meeting rigorous quality standards.
#1 Cognex VisionPro AI with 3D-Locate
Cognex has long been the gold standard for machine vision, but their latest AI dimensional scanner finally solves the human-factor problem that plagued earlier models.
Why operators actually use it:
- Integrated force-feedback guides ensure consistent probe pressure (no more "thumbed" measurements)
- Color-coded pass/fail indicators visible from 10 feet away
- Works reliably with standard nitrile gloves (no touchscreen frustration)
Key features that survive shop-floor reality:
- Temperature tolerance: 0°C to 50°C without recalibration
- IP67 rating for coolant and dust resistance If IP ratings are confusing, see our IP rating guide to choose the right protection level.
- Modular design (swap damaged components in under 2 minutes)
- Zero-touch inspection capabilities for high-volume production
Real-world implementation checklist:
- Mount the scanner within arm's reach of the workstation (no awkward bending)
- Train using "show me" technique: "Show me how you know it's calibrated today"
- Implement a daily operator verification with a master part
- Connect directly to your SPC system using the pre-configured API
- Schedule weekly teach-back sessions for the first month
#2 Keyence IM-8000 Series AI Profile Measurement System
Keyence made a quantum leap with their latest dimensional scanner by focusing on operator ergonomics rather than just pushing spec limits.
Why operators actually use it:
- One-handed operation possible with standard shop gloves
- Audible confirmation tones work in noisy environments
- Simplified interface with only 3 critical buttons
Key features that survive shop-floor reality:
- Adaptive measurement systems adjust for lighting changes automatically
- Tolerates vibration up to 0.5G without accuracy loss
- 4-hour battery life with hot-swap capability
- Smart defect detection flags issues before they become scrap
Real-world implementation checklist:
- Position the scanner at waist height to prevent repetitive strain
- Create a visual anchor chart showing common error patterns
- Train operators using physical samples of common defects
- Implement a "buddy verification" system for critical measurements
- Document glove compatibility in your work instructions
#3 eviXscan3D SmartScan Pro
The Polish engineering behind eviXscan3D delivers a rugged system that laughs at shop-floor challenges while maintaining remarkable accuracy.
Why operators actually use it:
- Familiar handheld form factor that feels like traditional metrology tools
- Haptic feedback confirms successful scan (no staring at screens)
- Works with wet or oily parts without reconfiguration
Key features that survive shop-floor reality:
- Encrypted data output meets ISO 17025 audit requirements
- Tool-free calibration with factory-traceable reference objects
- Survives 1.5m drops onto concrete
- Production line integration with PLC communication protocols
Real-world implementation checklist:
- Train using the "measure twice" technique with visual comparison
- Create a wall-mounted fixture for consistent part positioning
- Schedule hourly spot checks with a master part
- Implement a color-coded status light system visible across the cell
- Document measurement technique with video examples
#4 Artec Leo 3D Scanner with AI Processing
Artec's handheld scanner brings laboratory-grade precision to the production floor without requiring laboratory conditions.
Why operators actually use it:
- Real-time visualization shows coverage without technical expertise
- Voice command operation ("Scan complete," "Show deviation")
- Minimal training curve - many operators get it in under 30 minutes
Key features that survive shop-floor reality:
- WiFi 6 connectivity maintains stable connection in RF-noisy environments
- Automatic temperature compensation from 5°C to 45°C
- Dust-resistant lens housing with quick-clear mechanism
- Zero-touch inspection mode for routine checks
Real-world implementation checklist:
- Mount the charging station within 3 feet of the workstation
- Create physical templates for common part orientations
- Train using "show and tell" technique: "Show me what the red area means"
- Implement a weekly "scan challenge" with mystery parts
- Document glove compatibility limits (works with thin nitrile but not heavy leather)
#5 Teledyne DALSA Sherlock AI Vision Platform
Teledyne's industrial-grade system excels in environments where reliability trumps cutting-edge features.
Why operators actually use it:
- Physical dials and knobs work with mittens in cold environments
- Analog backup mode when network fails
- Decades of field reliability in automotive plants worldwide
Key features that survive shop-floor reality:
- Operates in complete darkness (perfect for paint shops)
- Maintenance-free for 12+ months in typical conditions
- Production line integration with all major PLC systems
- Smart defect detection learns from operator corrections
Real-world implementation checklist:
- Position the display at eye level to avoid neck strain
- Create a laminated quick-reference guide with common error codes
- Train using physical examples of "acceptable" vs "unacceptable"
- Implement a daily verification with a "known good" part
- Document lighting requirements for different material types
Making the Right Choice: Your Final Decision Framework
Don't let marketing specs blind you to real-world usability. Before purchasing any AI dimensional scanner, ask these critical questions:
If operators can't repeat it, it doesn't measure. Glove-on usability isn't a nice-to-have. It is the foundation of reliable quality control.
Reality Check Questions
- Will this work with our standard PPE? Test with production-floor gloves
- Can a new operator achieve consistent results in under 2 hours? If not, training costs will kill ROI
- Does data flow automatically to our quality system? Manual entry creates errors For shop floors moving to real-time SPC, here are the best wireless measurement tools for seamless integration.
- How does it perform during actual production vibration? Not just in a demo room
- What's the true cost of inaccurate measurements? Calculate scrap + rework + audit risk
Final Verdict: Which AI Dimensional Scanner Should You Choose?
After evaluating dozens of systems across multiple industries, here's my plain-language recommendation:
- For high-volume production lines needing zero-touch inspection: Cognex VisionPro: it is the most reliable when integrated properly
- For mixed-batch environments needing flexibility: Keyence IM-8000: best balance of ease-of-use and capability
- For harsh environments with vibration and coolant: eviXscan3D SmartScan Pro: toughest build quality
- For complex geometries needing quick adaptation: Artec Leo: fastest learning curve
- For maximum reliability in regulated industries: Teledyne DALSA: most field-proven in automotive
Remember my hard-won lesson: Accuracy means nothing without repeatability. I've seen 5-micron scanners deliver worse results than 25-micron tools because operators couldn't use them consistently. Measure your measurement system first (both the hardware and the human workflow around it).
The best AI dimensional scanners don't just find defects (they prevent them by fitting seamlessly into how work actually gets done). When your operators trust the tool enough to use it without supervision, you've found the right system. That's when quality control becomes quality assurance.
Priya Deshmukh is a process engineer who designs measurement into stations. She coaches operators to hit repeatability without slowing takt time. She prefers hardy, glove-friendly tools with simple training footprints, because if operators can't repeat it, it doesn't measure.

