Beyond Brochures: Surface Roughness Measurement That Lasts
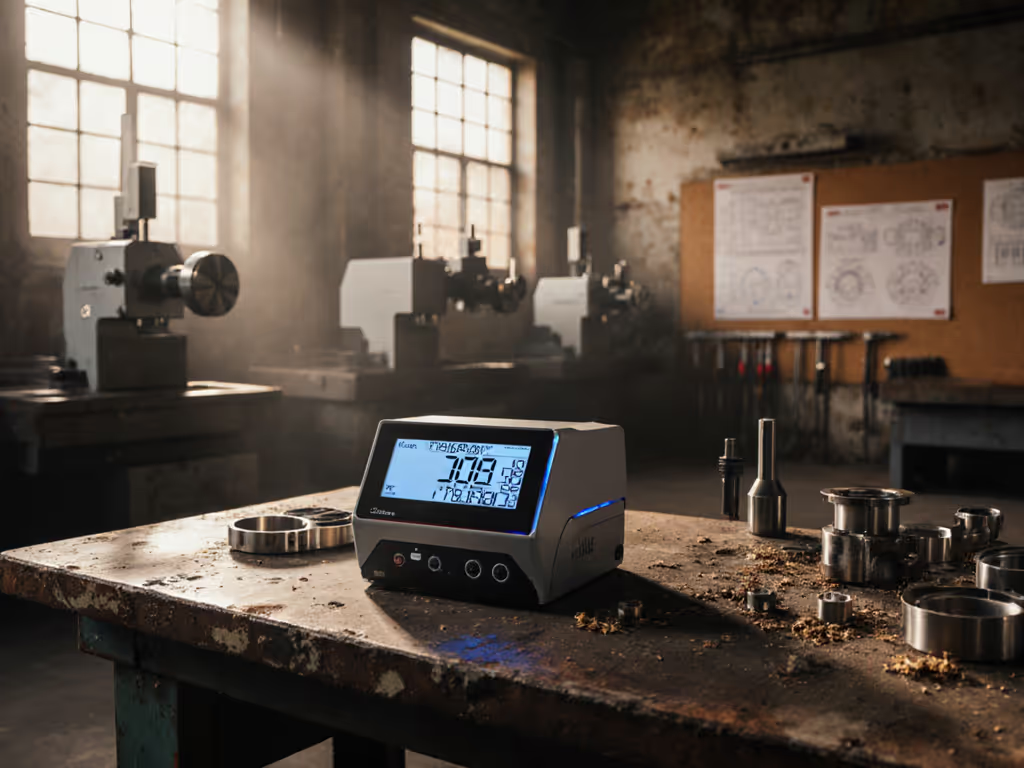
When your shop buys a "budget" surface roughness measurement system boasting Ra 0.02µm resolution, it looks like a win. Until the stage fails and a replacement probe takes 22 days to arrive. That downtime risk (three weeks of halted production) eclipses any sticker savings. That's why I evaluate texture analysis techniques through TCO math: service terms, spares lists, and downtime risk exposure. Pay for capability, not chrome, and count the lifecycle costs. Headline specs like Ra vs Rz parameters matter only if your system delivers consistent accuracy when the coolant hose bursts. If you want a quick refresher on fundamentals, see our accuracy vs precision guide.
The Hidden Cost of "Good Enough"
Most quality managers focus on a tool’s resolution or speed. But in my vendor trials, I've seen portable profilometers with stellar brochure specs fail within months due to two unaddressed realities:
-
Calibration drift in harsh environments: A $1,500 unit may promise Ra ±5% accuracy, but without documented thermal stability data (e.g., performance at 85% humidity or 30°C shop temps), uncertainty budgets balloon during summer production runs. One aerospace client scrapped $42K in parts after their stylus-based system drifted during a heatwave.
-
Accessory dependency: That "complete kit" often excludes critical spares. Non-contact systems using laser optics require quarterly lens cleaning kits. If the vendor's lead time for nozzles is 14 days, your manufacturing quality control tools become expensive paperweights. Standardize where it helps, locking in a single vendor for probes and calibration services cuts spares inventory by 60%.
I once audited a plant using comparative measurement methods (visual roughness samples) for medical device polishing. Great for spot checks. But when AS9100 auditors demanded traceable Ra data, they scrambled to rent a calibrated profilometer. Result? Two weeks of delayed shipments. Never assume your current inspection method meets future compliance needs.
Contact vs. Non-Contact: The Lifecycle Reality Check
Let's dissect common texture analysis techniques through the lens of sustained capability, not just initial specs. For a broader decision framework, read our match tolerance to tool class guide.
Stylus Profilometry: The Workhorse with Hidden Traps
Pros: Proven accuracy for ISO 4287 Ra/Rz parameters; cost-effective for shops validating surface finish standards like ISO 21920.
TCO math killers:
- Probe wear: Diamond styli degrade after 500+ passes on hardened steel. Replacement costs $220, but calibration downtime averages 72 hours. Factor in 12% annual probe wear across your fleet.
- Tip radius mismatches: Using a 5µm stylus on fine aerospace finishes (Ra 0.4µm) distorts readings. You'll reject good parts, inflating scrap rates by 3-5%.
When I modeled a major auto supplier's TCO, stylus replacement costs eclipsed the initial purchase price in 18 months. Their "$3,000 savings" became a $12,000 loss.
Optical Interferometry: Precision at a Price
Pros: Non-contact measurement preserves delicate surfaces; captures full areal parameters (Sa, Sz) per ISO 25178; immune to probe pressure errors.
Downtime risk accelerators:
- Vibration sensitivity: Requires 10-15 minute stabilization on shop floors. One forge shop I consulted lost 110 production hours monthly waiting for measurements.
- Calibration complexity: Needs master artifacts traceable to NIST standards. If your vendor's service contract excludes on-site calibration, that $28K system incurs $1,200/day rental fees during lab turnarounds.
The verdict: Optical systems excel in R&D labs, but on noisy floors, their TCO math often fails. Unless your workflow isolates vibration (e.g., separate metrology room), budget 20% more for active damping systems.
The Real Deal: Building Audit-Proof Reliability
Forget spec sheets. Here's how I structure vendor evaluations for surface roughness measurement that lasts:
1. Stress-Test the Service Terms
Ask vendors: "Show me your spares inventory report and last 3 calibration turnaround times." One supplier I approved kept 92% of probes in regional stock; competitors averaged 47%. That 45% gap meant 4.2 days less downtime risk per failure. Document this in your purchase order: no vague "subject to availability" clauses.
2. Model Worst-Case Downtime
Calculate cost of failure:
(Minutes stopped per incident) × (Hourly production cost) × (Failure frequency)
For a medical molding line ($850/hr), 8-hour downtime from a broken stylus = $6,800 loss. Now compare vendors:
- Vendor A: 3-day probe lead time + $180 shipping = $2,250 downtime cost
- Vendor B: 24-hour loaner + $75 shipping = $712 cost
The "$500 cheaper" tool costs $1,538 more per failure. Standardize where it helps across your facilities to lock in loaner terms.
3. Demand Uncertainty Budgets
Reject quotes without environmental uncertainty specs. Example questions:
- "What's your Ra measurement uncertainty at 25°C ±5°C?"
- "How does coolant mist affect your optical system's repeatability?"
A vendor who provides a full uncertainty budget (e.g., "±0.1µm Ra under 60% humidity") proves they've stress-tested their tech. Those without? They're selling chrome. If you handle maintenance in-house, our calibration guide shows how to keep tools within spec between vendor services.
Final Verdict: Capability Over Cost
Surface roughness measurement isn't about buying a tool, it's about buying unbroken production. I've seen shops cut final inspection scrap by 22% not by chasing resolution specs, but by selecting systems engineered for their actual workflow:
- For dirty shops: Sealed, IP67-rated contact profilometers with 2µm tips (e.g., for Ra 0.8-3.2µm finishes). Cheaper to maintain than optical systems fighting dust contamination.
- For audit-critical jobs: Non-contact systems with vendor-managed calibration chains. Pay 15% more upfront for guaranteed 72-hour turnaround on artifacts.
That bargain vision probe I mentioned? We switched vendors after modeling TCO math. Next stage failure: loaner arrived in 18 hours. Production never hiccuped. The difference wasn't price: it was counting the lifecycle costs.
Stop letting brochures define your quality. Audit your measurement capability today:
- Calculate downtime risk exposure for your current system
- Demand spares lead-time clauses in service agreements
- Standardize where it helps to lock in vendor accountability
When you pay for capability sustained over time, not headline specs, you'll stop fixing measurement systems and start fixing processes. That's how you earn calm confidence at 3 AM when the line signals a surface finish alert.

