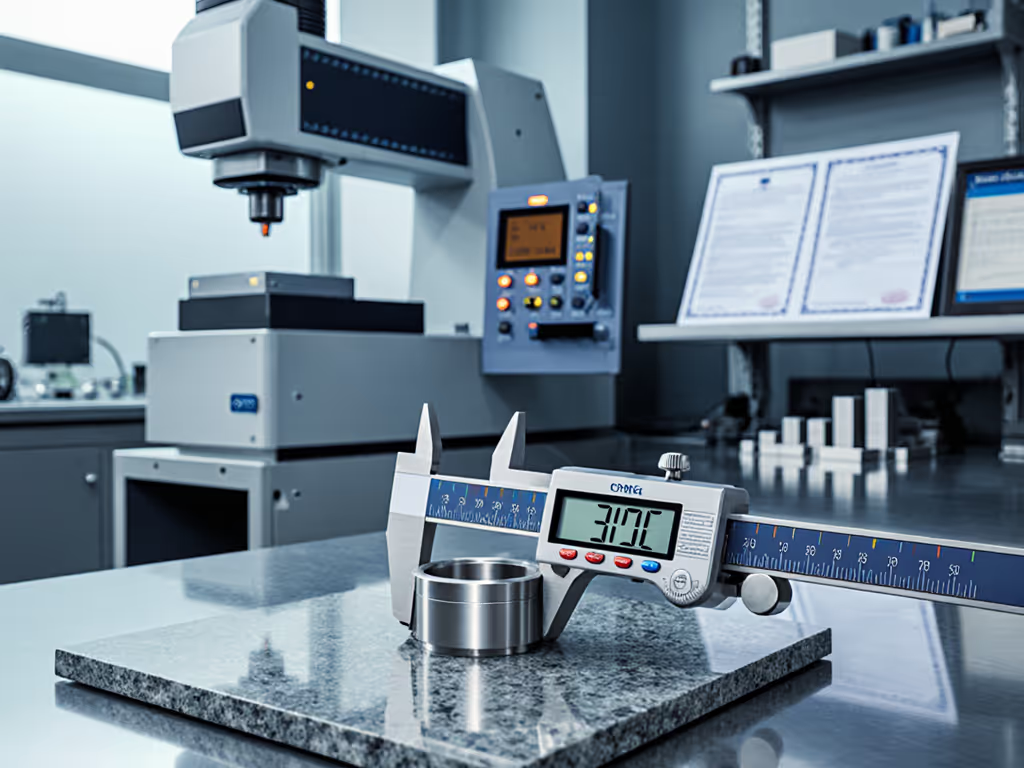
ISO/IEC 17025 Accreditation: Small Lab Requirements Decoded

For small metrology labs balancing precision work with limited resources, understanding the practical requirements of ISO/IEC 17025 accreditation is essential for credibility and market access. Achieving metrology lab certification isn't just about passing an audit, it's about building a sustainable quality infrastructure that converts measurements into reliable business decisions. If you need a quick refresher, our accuracy vs precision guide clarifies the core concepts behind technically valid results. This guide decodes the standard's requirements specifically for resource-constrained environments where every document must pull its weight and every process must deliver visible value.
What exactly is ISO/IEC 17025 accreditation and why should small labs care?
ISO/IEC 17025 establishes the global benchmark for laboratory competence, addressing both technical capability and quality management. Unlike ISO 9001 (which focuses on general quality management), this standard specifically validates your lab's ability to produce technically valid results. For small operations, accreditation transforms your service from a commodity to a verified capability (critical when competing for contracts in aerospace, medical devices, or automotive sectors where measurement integrity directly impacts product safety). The investment pays dividends through reduced client audits, increased acceptance of your data across borders, and documented confidence that your measurements withstand regulatory scrutiny.
How does ISO/IEC 17025 differ from ISO 9001 for laboratory settings?
While ISO 9001 verifies process consistency, ISO/IEC 17025 confirms technical competence. The standard's two pillars (Management Requirements, Section 8, and Technical Requirements, Sections 4 to 7) demand evidence that your measurements are not only systematically produced but also metrologically sound. Small labs often mistakenly treat this as "ISO 9001 plus calibration records." In reality, ISO/IEC 17025 accreditation requires rigorous proof of measurement validity through defined measurement uncertainty requirements, validated methods, and traceability documentation that survives technical review. When a client questions a dimensional measurement on a flight-critical component, your certification proves you've engineered the measurement process, not just followed steps. For practical techniques, see our GD&T measurement guide to align inspection with design intent.
What are the major sections small labs must prioritize?
Small labs should focus resources on these high-impact areas where nonconformities commonly occur:
- Technical competence evidence: Documented staff qualifications, method validations, and equipment specifications tied to your scope of accreditation
- Measurement uncertainty budgets: Formal calculations showing how environmental factors, equipment limitations, and operator variables affect results
- Proficiency testing: Structured participation in inter-laboratory comparisons relevant to your test methods
- Controlled environment management: Temperature, humidity, and vibration controls with documented monitoring procedures
- Sample handling protocols: Chain-of-custody procedures and identification systems that prevent mix-ups
If it isn't documented, it's hope, not evidence under pressure. This reality hit home during a supplier audit when a missing revision stamp on a micrometer SOP (despite perfect measurements) triggered a stop-ship. Paperwork gaps destroy credibility instantly.
What are the most common pitfalls for small labs during accreditation?
Small operations consistently struggle with:
- Under-resourced quality management system for labs: Treating documentation as "extra work" rather than integrated workflow
- Incomplete measurement uncertainty requirements: Guessing at values instead of performing formal calculations per your specific test methods
- Inadequate proficiency testing: Participating in irrelevant schemes or failing to investigate outlying results
- Weak traceability documentation: Missing links between calibration certificates and actual measurement results
- Uncontrolled procedure revisions: Operating with outdated work instructions due to poor version control
The cost of these gaps isn't just audit findings, it is client distrust when measurement questions arise mid-production. Implement revision callouts on every controlled document and maintain evidence links showing how your procedures execute in practice.
How can small labs implement quality management efficiently?
Forget bloated manuals. Build a living quality management system for labs that fits your workflow:
- Start with your scope of accreditation (only document what you actually do)
- Integrate quality steps into existing workflows (e.g., calibration verification during tool setup)
- Use checklists with clear acceptance criteria instead of lengthy procedures
- Assign quality ownership to technical staff (they know where measurements fail)
- Implement digital logbooks with automated reminders for due dates
This approach saved a small aerospace subcontractor I worked with: they replaced a 200-page manual with 12 workflow-integrated checklists. Their next surveillance audit took 18 minutes on quality system review (down from 3 hours) because auditors could instantly verify compliance through operational evidence. If you're choosing tools, our small-business metrology software picks streamline digital logbooks, reminders, and report generation.
What are the non-negotiable measurement uncertainty requirements?
Your uncertainty budget must reflect real-world conditions. Small labs often err by either: (a) copying generic values from equipment manuals, or (b) performing overly complex calculations that nobody understands. Focus instead on dominant uncertainty contributors for your specific measurements:
- Thermal expansion effects in shop-floor environments
- Repeatability limitations of your equipment at required resolution
- Reference standard uncertainties cascading through your chain
- Operator influence on manual measurement techniques
Document these in a single-page uncertainty budget per critical measurement type. This isn't an academic exercise, it is your defense when a client disputes a borderline conformance decision. Build audit-ready numbers with our measurement uncertainty budget guide.
How do we handle proficiency testing affordably?
Small labs can't afford to join every PT scheme. Instead:
- Prioritize PT for measurements directly tied to customer rejections
- Partner with regional labs for shared sample programs
- Use blind remeasurement of production parts as internal PT
- Document how you investigate and correct outlying results
The goal isn't perfect scores, it is demonstrating a systematic approach to identifying measurement drift before it impacts clients. Track trends across PT cycles to anticipate equipment degradation.
What traceability documentation is absolutely critical?
Your audit survival depends on unbroken chains showing how measurements connect to recognized standards. Essential elements include:
- Calibration certificates showing that measurement uncertainty requirements were met
- Clear links between reference standards and specific measurements
- Environmental conditions recorded during critical calibrations
- Validated transfer procedures for standards moving between labs
- Evidence of intermediate checks between calibrations
Small labs often fail by having traceable equipment but incomplete traceability documentation for actual measurement results. Every test report must include the calibration status of all contributing measurement devices at time of testing.
What's the single most overlooked requirement causing audit failures?
Uncontrolled changes to procedures during production. Technicians update methods "on the fly" to solve immediate problems, then forget to document changes. This creates dangerous gaps between what's written and what's practiced. Implement a simple change log requiring supervisor approval for any deviation (even minor ones) with risk notes evaluating impact on measurement validity. Audit findings always increase when operators make undocumented adjustments. Choose risk before convenience every time.
Maintaining Compliance Between Audits
Accreditation isn't a one-time achievement but a sustained discipline. Small labs succeed by:
- Conducting monthly spot-checks of high-risk measurement processes
- Documenting corrective actions with root cause analysis (not just symptom fixes)
- Using controlled language in all procedures to prevent ambiguous interpretations
- Training new staff using actual audit scenarios as learning tools
- Scheduling quarterly management reviews focused on measurement risk
When documentation becomes behavior rather than bureaucracy, your systems survive audit pressure. Consistency and documentation convert good measurements into reliable decisions, a truth proven not in theory but on the shop floor where measurement errors become scrap parts and delayed shipments. To reduce costly mistakes, review common measurement error types and practical fixes.
Further Exploration: Dive deeper into ISO/IEC 17025's technical requirements by reviewing your national accreditation body's implementation guides. Many offer free sector-specific checklists that translate abstract standards into practical steps for small labs. Remember: the most effective quality systems don't just pass audits, they prevent measurement-related production issues before they occur.

