Cooking vs Industrial IR Thermometers: Truth Behind the Specs
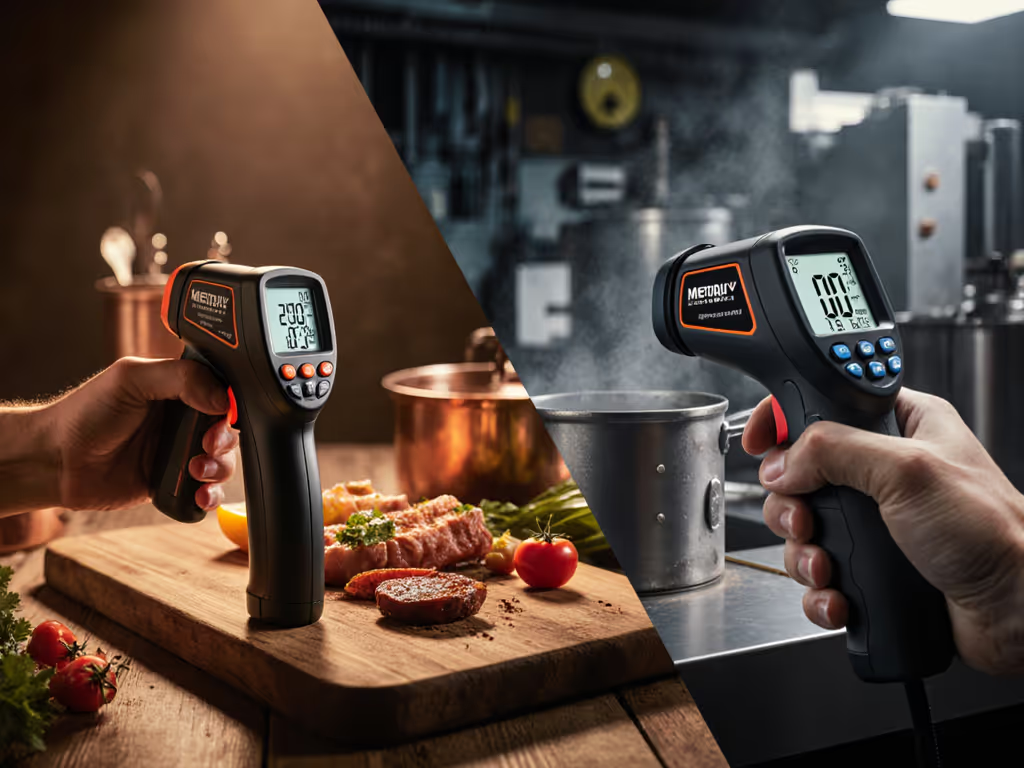
Cooking infrared thermometer devices flood the market with promises of "restaurant-quality precision" for home use. But when quality managers spot these tools in manufacturing environments during an industrial IR thermometer comparison, alarm bells should sound immediately. The difference isn't merely price, it is traceability, documentation, and whether your measurements will survive audit scrutiny. As someone who's watched perfect measurements get rejected over a single missing revision trail, I know that without proper documentation, you're not measuring; you're gambling.
Why Can't I Substitute a Cooking IR Thermometer for Critical Manufacturing Processes?
Let's cut through the marketing hype: cooking infrared thermometers solve culinary problems, not manufacturing measurement challenges. A recent aerospace supplier audit revealed a team using a $20 kitchen IR gun to verify heat treatment processes, resulting in a major nonconformance that halted production for three days.
Risk note: Cooking thermometers lack traceable calibration certificates meeting ISO/IEC 17025 requirements. Their "accuracy" claims often reference ideal lab conditions that don't reflect shop floor reality. When auditors ask for the certificate showing NIST traceability for that $15 device checking your turbine blades, you'll have nothing but hope.
If it isn't documented, it's hope, not evidence under pressure.
What's the Real Difference in Accuracy Between Cooking and Industrial IR Thermometers?
Food safety temperature checks require ±2°F accuracy for safety compliance. But manufacturing process control demands tighter uncertainty budgets. Compare these specifications:
- Typical cooking infrared thermometer: ±2% of reading or ±2°F (whichever is greater)
- Industrial IR thermometer: ±0.5% of reading or ±1°F with documented uncertainty budget
The difference becomes critical when verifying a 400°F heat treatment process:
- Cooking thermometer: Could read 396-404°F while actual temperature is 390°F
- Industrial thermometer: Reads 399-401°F with documented uncertainty of ±0.75°F
Revision callout: ASME B46.1-2020 Section 5.3 specifies maximum allowable measurement uncertainty for surface temperature verification in precision manufacturing. Your kitchen tool won't meet this, nor will its manual reference the standard.
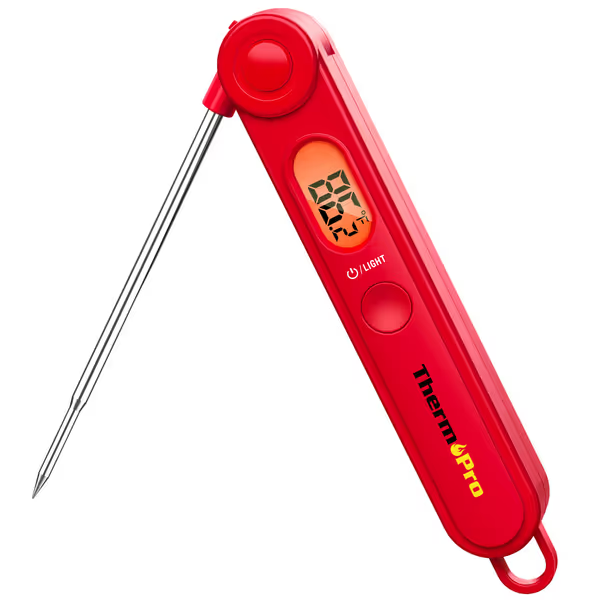
ThermoPro TP03B Digital Meat Thermometer
How Do Emissivity Settings Actually Impact Manufacturing Measurement Validity?
Cooking infrared thermometers typically lock emissivity at 0.95, the approximate value for organic materials like meat or bread. Industrial applications require adjustable emissivity settings because:
- Polished aluminum: 0.05-0.1
- Oxidized steel: 0.7-0.8
- Painted surfaces: 0.9-0.95
Acceptance criteria: Without proper emissivity adjustment, your surface temperature readings could be off by 20-50°F on metallic surfaces. I've seen a supplier miss a critical tempering specification because their "industrial" IR gun (actually a rebranded kitchen model) used fixed 0.95 emissivity on bare steel components.
Evidence links: Document your emissivity settings in the measurement record. Photographic evidence showing the surface condition alongside the IR reading creates an audit trail that survives scrutiny.
What Response Time Comparison Actually Matters for Process Control?
Manufacturers fixate on "1-second response time" marketing claims without considering what matters in real processes. Compare these scenarios:
| Application | Cooking IR Thermometer | Industrial IR Thermometer |
|---|---|---|
| Oil temperature check | 0.5 seconds (marketing claim) | 250ms with documented repeatability |
| Bearing monitoring | Meaningless (not designed for this) | 100ms with signal smoothing for trending |
| Heat treat verification | ±5°F variation during measurement | ±0.5°F with stable reading lock |
Risk note: Fast response without stability creates false precision. I've watched operators chase temperature readings from a cooking IR gun on a slow-changing process, documenting wildly fluctuating values that made statistical process control impossible. For a deeper dive into the systematic and random errors that create false precision and scrap, see our measurement error types guide.
Why Documentation and Calibration Traceability Make or Break Audit Readiness
During a medical device supplier audit, I witnessed a team scramble when asked for the calibration certificate of their "industrial" IR thermometer. It turned out to be a cooking model purchased from a kitchen supply store. No revision history, no uncertainty budget, no traceability, just a receipt and hopeful attitude.
Control language requirements for measurement documentation:
- Unique asset identification
- Calibration due date with documented interval justification
- Uncertainty budget showing environmental factors
- Emissivity setting used for each measurement
- Operator certification records
What Food Safety Temperature Requirements Actually Translate to Manufacturing?
Food safety temperature standards like HACCP focus on pathogen elimination (165°F for poultry). Manufacturing process control requires understanding how temperature affects material properties:
- Cooking perspective: "Is this steak medium-rare?" (135°F internal)
- Manufacturing reality: "Does 425°F tempering create the required 32-36 HRC hardness?"
Revision callout: ASME B5.54-2018 Section 7.2 requires documented thermal mapping for any process where temperature affects product conformance. A cooking infrared thermometer lacks the stability and documentation trail required for this critical task.
How to Avoid Costly Mistakes When Selecting IR Measurement Tools
Follow this audit-proof selection checklist before purchasing any temperature measuring instrument:
- Verify the uncertainty budget - Does it include environmental factors like ambient temperature swings?
- Check documentation capabilities - Can it generate calibration certificates meeting your QMS requirements?
- Confirm emissivity adjustment range - Does it cover your actual production materials?
- Validate response characteristics - Is it stable enough for your process change rates?
- Review service documentation - Are repair manuals and calibration procedures available?
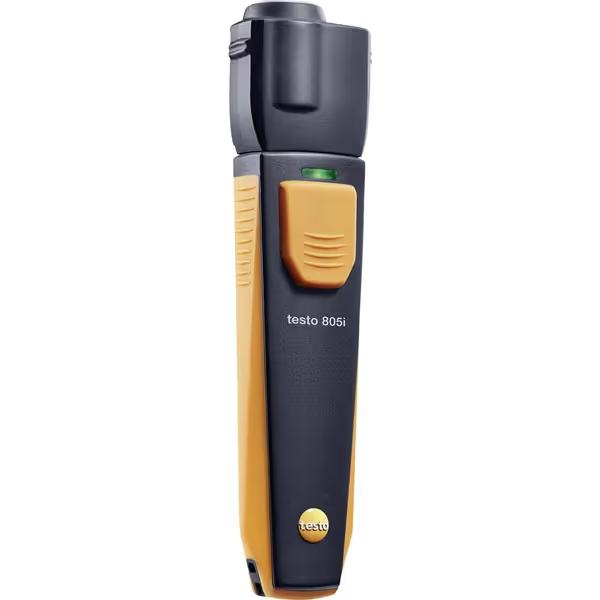
Testo 805I Infrared Thermometer Smart Wireless Probe
A supplier once thought they'd save money using a cooking infrared thermometer for oven mapping. During the PPAP audit, the missing emissivity documentation triggered a full process revalidation, costing them $87,000 and three weeks of delays. The micrometer SOP story was bad enough; don't compound it with temperature measurement failures.
Conclusion: Control the Revision, Control Your Process
The fundamental difference between cooking infrared thermometers and proper industrial IR measurement tools isn't in the optics, it is in the documentation trail and uncertainty management. When your auditor asks for evidence that your temperature measurements are reliable, kitchen tools will leave you with nothing but marketing brochures and regret.
Consistency and documentation convert good measurements into reliable decisions. Whether verifying food safety temperature protocols or aerospace heat treatments, your measurement system must survive the pressure of audit scrutiny. Before selecting any temperature measurement solution, ensure you can control the revision of every element in your process, from the tool itself to the calibration documentation.
Further Exploration:
- Review your organization's measurement system analysis (MSA) requirements for thermal measurement
- Download the free checklist: "7 Audit Traps in Temperature Measurement Documentation"
- Compare your current IR thermometer specifications against ISO 18434-1:2008 standards for condition monitoring
- Schedule a measurement system assessment with your calibration provider to verify your uncertainty budgets

