Fixed vs Portable Metrology Systems: True Cost of Ownership
When debating fixed vs portable metrology systems, most engineers fixate on upfront cost and spec-sheet accuracy. But the metrology system TCO (total cost of ownership) hinges on environmental vulnerability, workflow integration, and hidden calibration demands. Accuracy on spec sheets rarely survives the shop floor. I learned this during a heat wave that turned our granite surface plate into a scrap-generating machine. Lab-grade tools demanding ISO 1 temperature control fail catastrophically in real-world conditions. True capability must be engineered across tool, process, and environment, not purchased off a shelf.
Deconstructing the Accuracy Myth
Portables are marketed as "lab-grade in your hand," but their uncertainty budgets tell a different story. Consider these shop floor measurement systems in action:
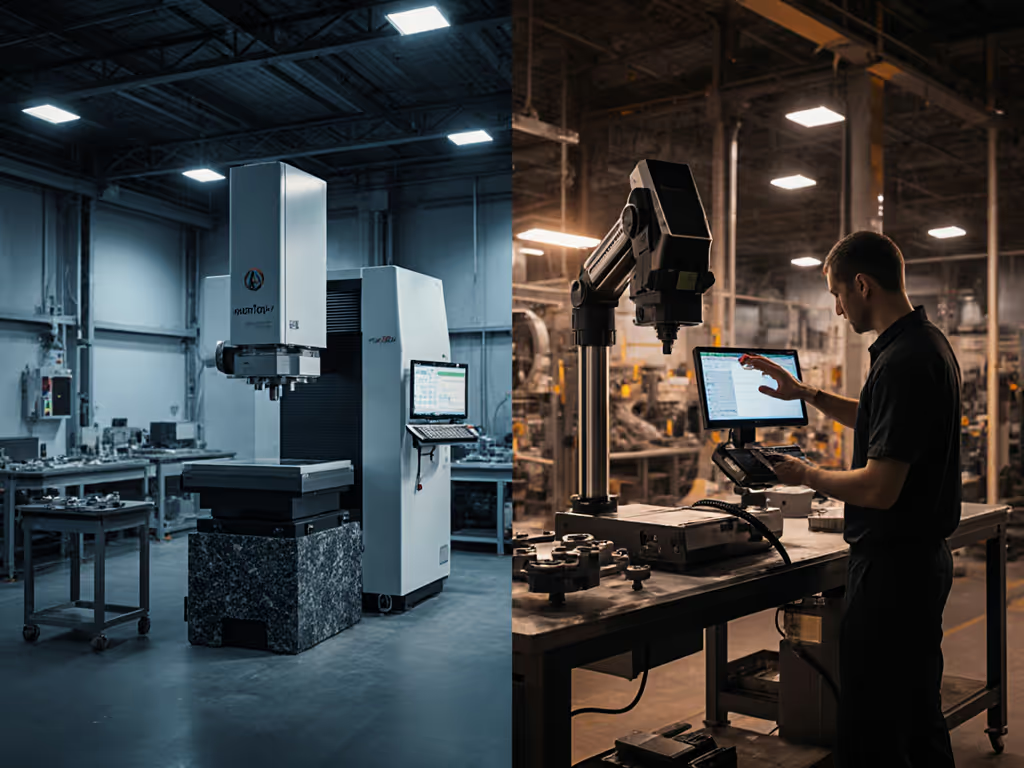
- Fixed CMMs: Achieve ±1.5 μm accuracy only in 20°C±0.5°C environments with vibration isolation. Deviate by 1°C, and thermal expansion alone adds ±5 μm error for aluminum parts.
- Portable arms: Advertised ±10 μm at 2 meters. Reality? Temperature swings of 3°C induce ±15 μm drift in carbon fiber arms. Vibration from nearby presses? Add another ±8 μm.
A recent FARO whitepaper confirms portable CMMs require 10x tighter environmental control than fixed systems to hit nominal accuracy, yet few job shops monitor ambient temperature hourly.
Key insight: Resolution ≠ accuracy. That 0.1 μm dial indicator fails when coolant changes part temperature by 2°C during measurement. Always demand explicit tolerances with stated conditions: "±2.5 μm at 20°C±1°C, dry air" beats "micron-level accuracy."
Environmental Vulnerability: The Silent Cost Multiplier
Lab vs field metrology debates ignore physics. Fixed systems excel in controlled labs but become liabilities when moved. Portables thrive on the floor, but only if engineered for it. Witness these failure modes:
| Factor | Fixed CMM Impact | Portable CMM Impact |
|---|---|---|
| Temperature swing (5°C) | Granite baseplate expands; requires re-baselining every 24 hrs | Arm joints drift; needs hourly verification |
| Vibration (0.5 μm RMS) | Rejects 30% of measurements; requires foundation reinforcement | Causes 12% repeatability loss; dampened bases add $8k |
| Coolant mist | Corrodes guideways; annual cleaning costs $5k | Fogged optics; 15 min recalibration every 2 hrs |
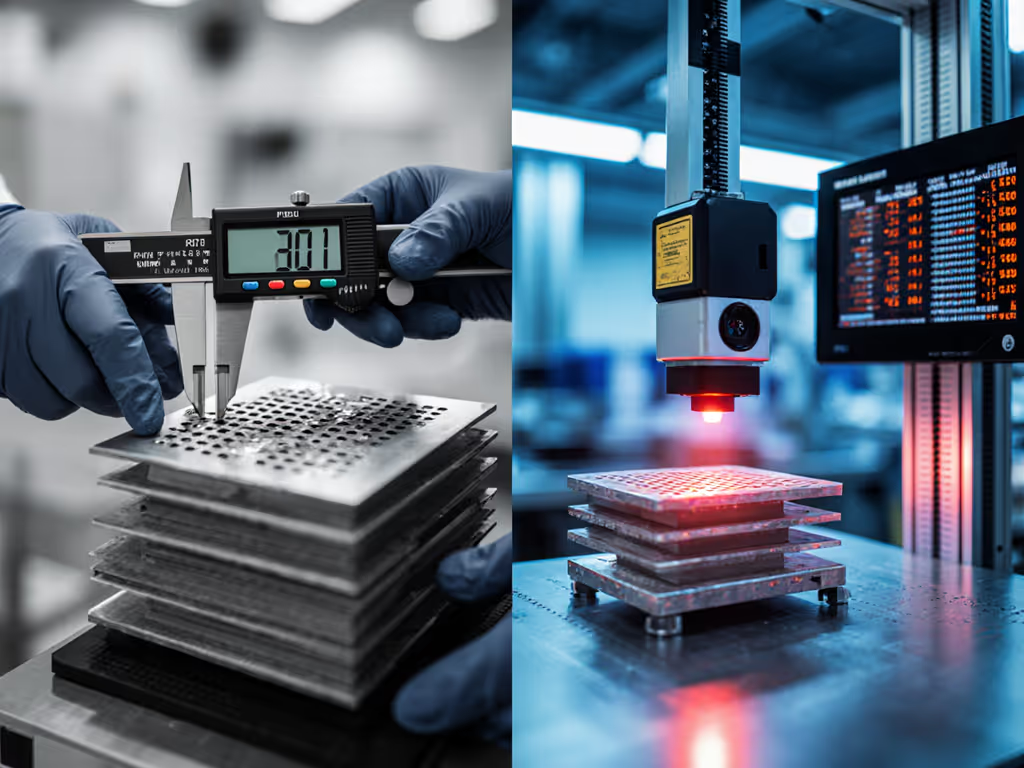
During that heat wave incident, our "calibrated" surface plate grew 0.05 mm as ambient rose 4°C. Without logging units and conditions specified, we scrapped $18k in aerospace brackets. The fix? Real-time environmental sensors tied to measurement pauses, a $2.5k solution that paid back in 3 days. To quantify risk and reduce scrap, build a measurement uncertainty budget tailored to your shop's temperature, humidity, and vibration profile. Assumptions stated: If your tolerance stack allows <0.1 mm drift, field metrology demands active thermal control.
Workflow Integration Costs: Where Portables Shine (and Fail)
Fixed CMMs dominate high-volume inspection but cripple workflows when parts must be moved. Portables reduce handling time, but their TCO balloons from hidden inefficiencies:
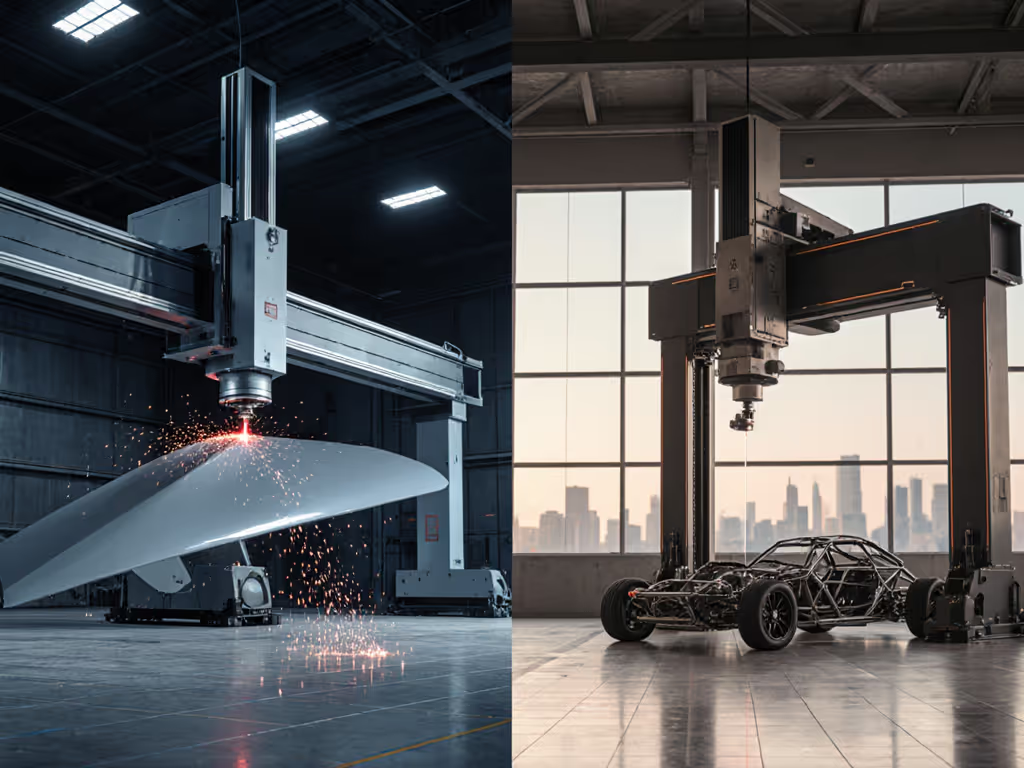
- Time savings: Measuring a 5-ton turbine housing onsite with a portable arm saves 4 hours of crane time per part. But... For very large parts, compare laser trackers vs portable CMMs to balance setup time, reach, and field accuracy.
- Motion tax: Articulated arms require 5x more operator movement than bridge CMMs for complex geometries. Fatigue induces cosine errors, spiking GR&R failures by 22% (per Midwest Metrology data).
- Calibration overhead: Portable arms need daily SMR (spherically mounted retroreflector) checks. Skip this, and uncertainty budgets balloon 40%.
System longevity analysis reveals brutal truths: Fixed CMMs last 15+ years with quarterly calibrations. Portable arms endure 5-7 years in harsh environments due to joint wear, yet their calibration requirements comparison shows 3x more annual calibration costs. For shops with 200+ tolerance checks daily, portables cut handling time but increase measurement uncertainty. The break-even point? When part movement time exceeds 12 minutes per inspection.
Compliance Risk: The Audit Time Bomb
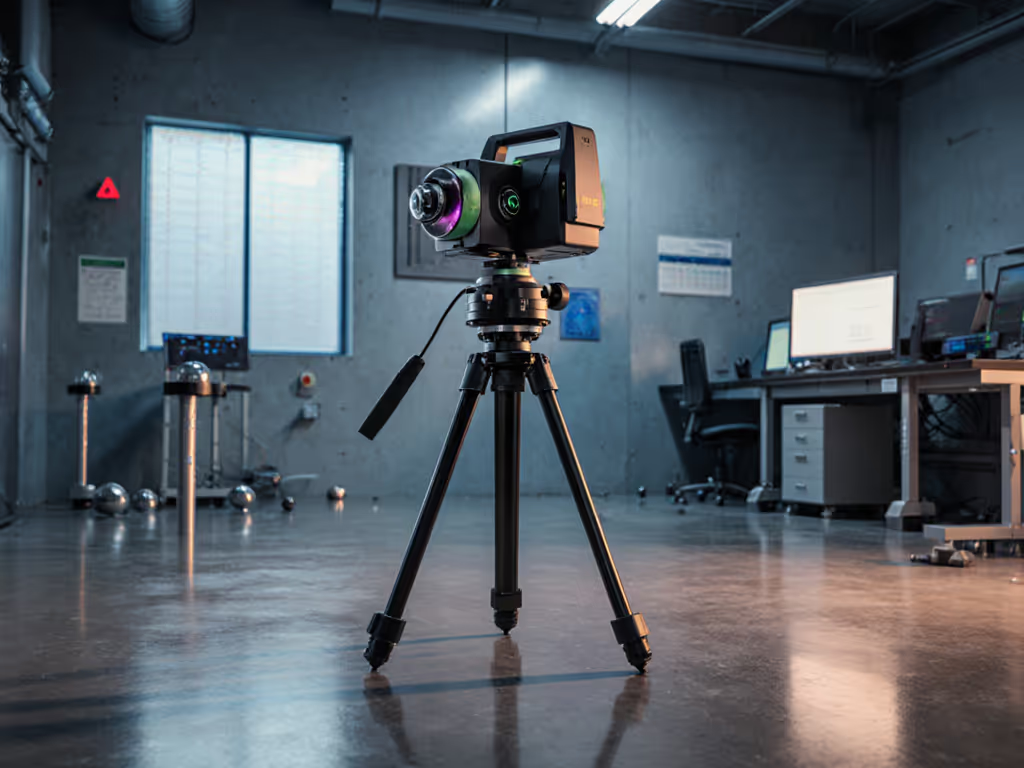
Calibration requirements comparison exposes portables' Achilles' heel. Fixed CMMs have straightforward traceability: NIST-traceable artifacts → lab calibration certificate. Portables? SMRs degrade, laser trackers need sphere arrays recalibrated monthly, and articulated arms require complex volumetric compensation.
I've seen audits fail because:
- Portable calibration certificates omitted temperature logs during verification
- Laser tracker SMRs had 0.005 mm wear (exceeding 0.003 mm tolerance)
- Bluetooth data transfer corrupted 2% of measurements (undetected until batch recall) To harden data collection and traceability, use wireless measurement tools with SPC integration that support robust protocols and automatic audit logs.
Error bars must include all variables: operator technique, thermal drift, and sensor stability. An $80k portable arm with poor calibration discipline costs more than a $120k fixed CMM with disciplined process control. For ISO 9001/AS9100 compliance, document every environmental condition during calibration, down to humidity %.
The Tolerance-Driven Decision Framework
Stop choosing tools based on brochure specs. Engineer capability using this workflow:
- Map your tolerance stack: If tolerances >0.1 mm, portables often suffice. Below 0.05 mm? Fixed systems rarely win outside labs.
- Quantify environmental volatility: Log temp/humidity/vibration for 72 hours. >2°C swing? Portables need active thermal control.
- Calculate workflow costs: Include handling time, calibration frequency, and scrap risk. Portable TCO often exceeds fixed systems for high-mix shops.
- Demand uncertainty budgets: Reject vendors who won't provide error budgets for your conditions.
If you're in regulated healthcare manufacturing, see our medical metrology audit survival guide for standards, documentation, and validation strategies. During a recent medical device audit, a client passed with a portable arm only because they'd engineered the process: hourly SMR checks, temperature-logged calibration certificates, and operator GR&R studies. The tool cost $65k; the capability engineering cost $18k. But it prevented $250k in potential scrap.
Conclusion: Engineer Capability, Don't Buy Accuracy
The fixed vs portable metrology debate resolves when you prioritize capability over convenience. Fixed systems dominate in controlled labs with sub-10 μm requirements. Portables win for large parts (>2 m) or volatile environments, if engineered with ruthless attention to thermal drift, calibration cycles, and operator training.
tolerance-driven pick emerges from your tolerance stack and environmental volatility, not marketing claims. That heat wave taught me to specify conditions as fiercely as tolerances. Your next tool decision must account for coolant mist, floor vibration, and Monday-morning temperature drops. Because when the audit comes, they won't care about your spec sheet, they'll demand traceable data proving you measured right.

