Robotics Calibration Tools: Audit-Ready Precision Verification

When a supplier's PPAP failed over a missing revision on a micrometer SOP (despite flawless measurements), the resulting stop-ship cost $187K in idle lines. That incident crystallized why robotics calibration tools without bulletproof documentation convert precision motion measurement into audit vulnerabilities. In regulated manufacturing, traceable calibration isn't optional; it is the bedrock of ISO 9001:2015 risk-based thinking and AS9100D Clause 8.5.1. For a quick refresher on how traceability chains work from national standards to the shop floor, read our measurement traceability guide. This guide cuts through marketing fluff to show how pragmatic calibration systems survive scrutiny while preventing scrap, rework, and regulatory citations.
Core Audit Risks Every Calibrated System Must Address
FAQ 1: Why do auditors dissect robotics calibration tools even when parts pass inspection?
If it isn't documented, it's hope, not evidence under pressure.
Auditors target robotic calibration because inconsistent arm motion erodes precision motion measurement (a silent killer of Cp/Cpk). Consider: An automotive weld cell with 0.5mm path deviation might produce seemingly acceptable joints. Yet per ISO 9001 Clause 7.1.5.2, unverified calibration nullifies the entire measurement system's validity. During a recent AS9100 audit, I witnessed a $2M line shutdown because a robot's "field-calibrated" laser tracker lacked:
- Timestamped pre/post environmental logs (temperature/humidity)
- Version-controlled procedures matching the technician's training records
- Traceability to NIST Standard 811 (not just "manufacturer specs")
Risk note: Self-declared accuracy claims without ISO/IEC 17025-accredited certificates trigger Major Nonconformities. If you're building or buying calibration services, review our ISO/IEC 17025 accreditation guide for small labs. Always demand:
- Calibration certificates listing measurement uncertainty budgets
- Equipment asset tags synced to your QMS
- Revision callouts proving current acceptance criteria
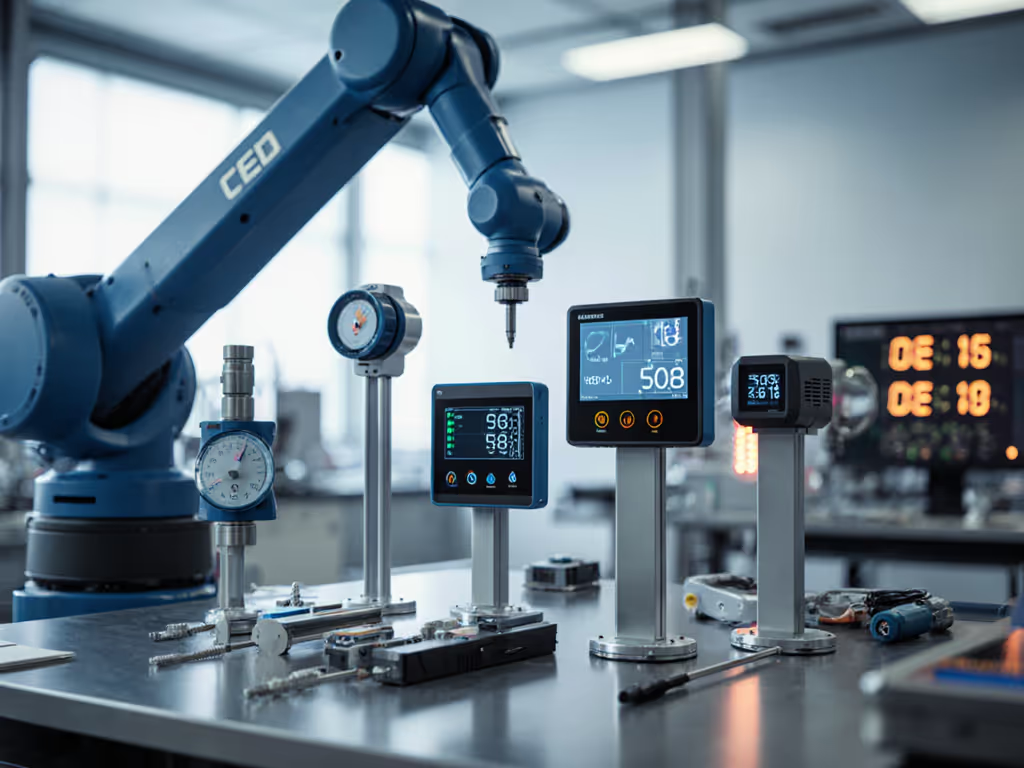
FAQ 2: How do we verify robot arm accuracy verification meets AS9100's "process control" requirement?
Collaborative robot calibration demands more than passing a single-point test. Per ISO 10360-12, robotic systems require volumetric accuracy validation across all operational envelopes. I've seen teams fail audits by relying solely on:
- End-effector repeatability tests (ignoring path deviation)
- Single-axis calibration (missing coupled motion errors)
- Uncertified reference artifacts (e.g., uncalibrated dowel pins)
Actionable checklist for audit-ready verification:
- Test points: Minimum 100 positions spanning work envelope (per VDI/VDE 2617)
- Environmental control: Document ±1°C stability during testing (critical for steel structures)
- Data capture: Automated logs with UTC timestamps (no manual entry)
- Acceptance criteria: Defined against process tolerances (e.g., 25% of part GD&T)
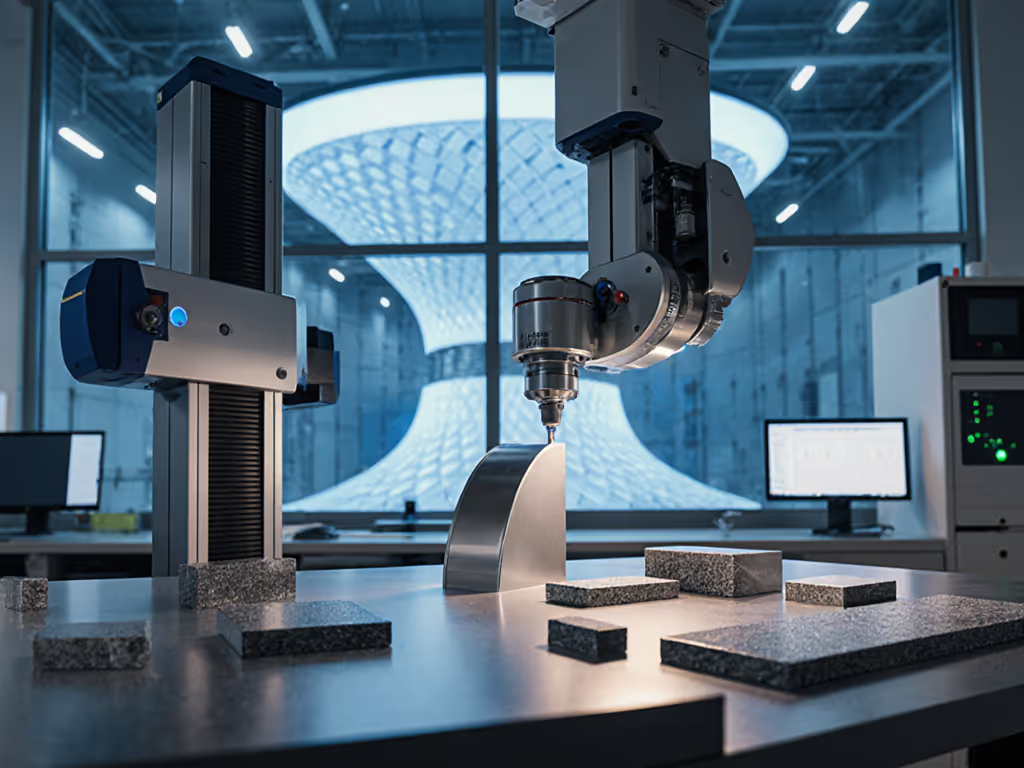
If your tolerances are driven by GD&T, see our practical GD&T measurement guide for setting acceptance criteria. Proven method: Use a laser tracker (e.g., FARO Vantage) to validate 6DOF motion against SMR targets. Log deviations exceeding 0.05mm at 1m arm length trigger recalibration (before they impact production). For technology tradeoffs, compare options in our laser tracker vs portable CMM guide.
FAQ 3: Can motion capture systems replace traditional metrology for industrial robot metrology?
Motion capture systems (stereo cameras, laser scanners) excel in relative position tracking but fail audit trails when:
- Cameras lack NIST-traceable calibration certificates
- Environmental factors (vibration, ambient light) aren't quantified in uncertainty budgets
- Software merges targets without documenting outlier rejection logic
When they succeed: For collaborative robot calibration in cleanrooms (e.g., medical device assembly), where vibration <5µm and temperature ±0.5°C. When they fail: Machining cells with coolant mist, where refractive index shifts invalidate optical measurements.
Critical evidence link: In a 2024 aerospace audit, motion capture passed because the team:
- Ran daily ISO 17025-certified SMR sphere checks
- Attached thermal sensors to camera mounts
- Documented a 0.03mm Type A uncertainty component from particulate interference
FAQ 4: What documentation sinks most robotics calibration tools during audits?
Nine times out of ten, I've seen these omissions trigger citations:
| Documentation Gap | Audit Clause Violated | Real-World Cost |
|---|---|---|
| Missing pre-calibration environmental logs | ISO 9001:2015 7.1.5.1 | $112K scrap batch (thermal drift) |
| Uncertified reference standards | AS9100D 8.5.1.3 | 37-day audit extension |
| Revision-controlled procedures not updated after tool firmware patch | IATF 16949 8.5.6.1.1 | Stop-ship for 14K units |
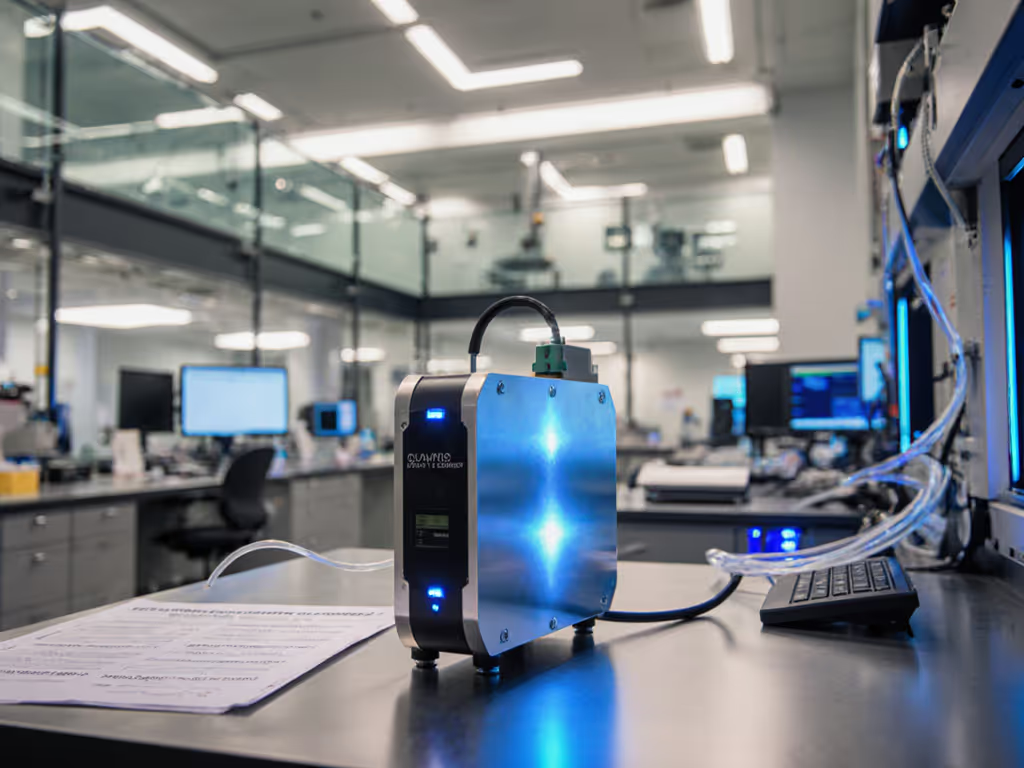
Key insight: The Advintec TCP system's logging of every calibration event (see technical data below) isn't a "nice-to-have"; it is evidence linking tool performance to Clause 8.5.1.1. Without it, you're gambling on recall depth if a robot drifts mid-production.
Technical Deep Dive: Validation Protocols That Survive Scrutiny
Robot Arm Accuracy Verification: Beyond the Data Sheet
Many tools boast "0.02mm accuracy," but under what conditions? Precision motion measurement requires knowing: To structure contributors and calculations, use our step-by-step measurement uncertainty budget guide.
- Test method: ISO 9283 (repeatability) vs. ISO 10360-12 (volumetric accuracy)
- Environmental envelope: e.g., "0.02mm @ 20°C ±0.5°C" (not just "room temp")
- Load conditions: Calibration at 0kg vs. 50% rated payload
Example: Renishaw's RCS L-90 ballbar. Teams I've audited expect:
- Proof of ballbar calibration against NIST-traceable gage blocks
- Logs showing warm-up time (e.g., 30 mins at operating temp)
- GR&R study proving <10% of tolerance for key parameters
Risk note: Systems claiming "calibration in 15 seconds" often skip axis coupling tests (a fatal flaw for complex paths). Always validate worst-case trajectories (e.g., cornering at max speed).
Industrial Robot Metrology: The Hidden Cost of "Plug-and-Play" Tools
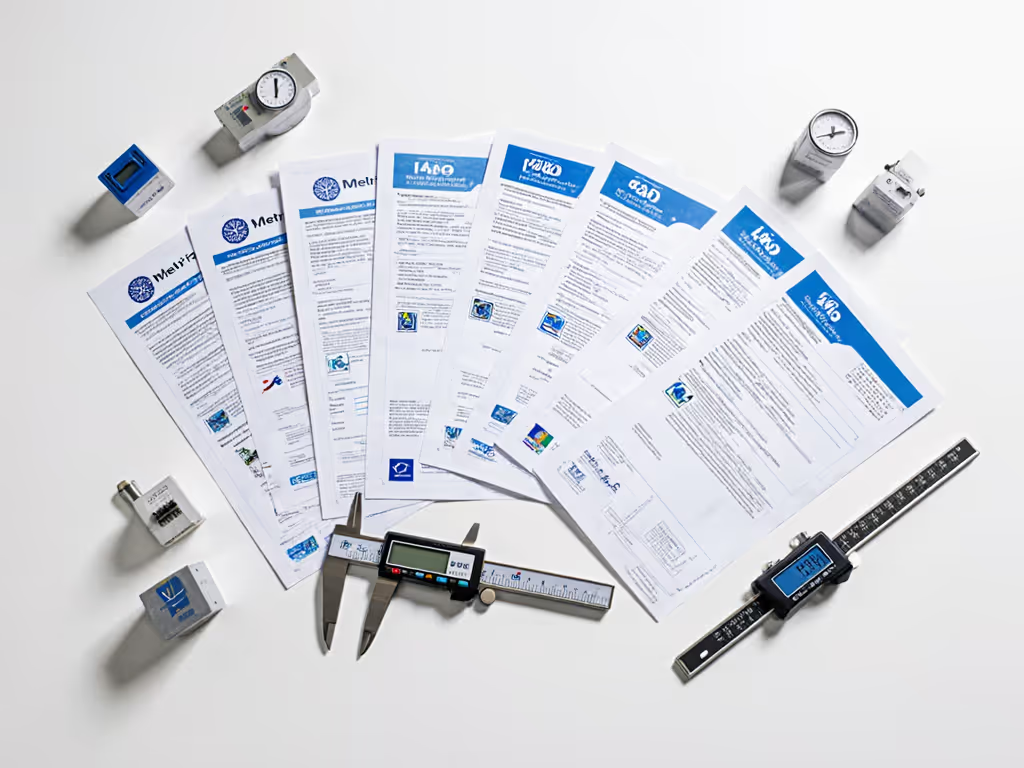
Tools marketed as "easy calibration" often lack:
- Controlled language in work instructions (e.g., "position sensor" vs. "align TCP sensor within 0.1mm of datum A");
- Revision control for software algorithms (e.g., RoboDK's calibration routines);
- Acceptance criteria for environmental compensation.
Case study: A medical device plant using a "mobile calibration case" for unknown tools faced FDA 483 observations because:
- Tripod vibration wasn't quantified in uncertainty budget
- Cables weren't strain-relieved (causing micro-shifts)
- No revision callouts for the "precision laser sensor" firmware
Their fix? They required all tools to provide:
- Full uncertainty budget per ISO/TS 22163 Annex B
- Version-controlled probe calibration routines
- Evidence of shock/vibration testing during transport
How to Build Audit-Ready Calibration Processes (Not Just Buy Tools)
The "Control the Revision" Framework
Tools alone won't pass audits. Embed these practices:
1. Calibrate to process needs, not just specs
- Calculate Test Accuracy Ratio (TAR) against part tolerances. For a ±0.1mm hole, demand ≥0.025mm tool uncertainty (4:1 TAR).
- Rejection point: Systems without documented TAR calculations.
2. Harden your documentation trail
- Log environmental conditions during every calibration (not just "ambient")
- Attach calibration certificates directly to robot work orders in QMS
- Control the revision of all reference artifacts (e.g., "SMR Sphere Batch #2025V2")
3. Stress-test for real-world drift
- Run calibration checks after shift changes (thermal soak effects)
- Validate performance with coolant/debris present (not just clean lab conditions)
- Track hysteresis by reversing motion paths
Critical Product Comparison: Audit-Proofing Features
All tools here support robotics calibration tools workflows, but only these pass strict audits:
| Feature | Advintec TCP | Renishaw RCS L-90 | RoboDK + Laser Tracker |
|---|---|---|---|
| Audit-Strength Documentation | Auto-logged calibration data with digital signatures | NIST-traceable artifact certs included | Requires manual log integration |
| Revision Control | Firmware version embedded in every report | Separate artifact calibration logs | Software updates require manual revision tracking |
| Uncertainty Budget | Full Type A/B components in report | Published in ISO 17025 cert | User-computed (high risk) |
| Environmental Monitoring | Built-in thermal sensor logs | Requires external sensors | Optional add-on (often omitted) |
| Real-World Risk | Best for fixed cells (welding) | Ideal for mobile diagnostics | Demands high operator skill |
Key differentiator: Advintec's automatic correction of trajectory wear (vs. one-time recalibration) reduces audit risk by providing continuous evidence of controlled motion. But only if your team documents every correction event.
Conclusion: From Calibration to Confidence
Robotic calibration tools that survive audits do two things: control the revision of every variable and anchor measurements to process outcomes, not just tool specs. When the auditor asks for proof, your response must be a lean stack of version-controlled logs, not a scramble for evidence.
Remember that supplier PPAP failure? The fix wasn't better micrometers; it was connecting every calibration action to a documented revision history. The next audit took twelve minutes because the evidence was already there: no questions, just signatures. That's the standard you need.
Further Exploration:
- Watch the 12-min masterclass: Documenting Precision Motion Measurement for AS9100 Audits
- Request a gap analysis of your current robot calibration system against ISO 10360-12

