Drone Manufacturing Metrology: Ensuring Lightweight Airframe Precision
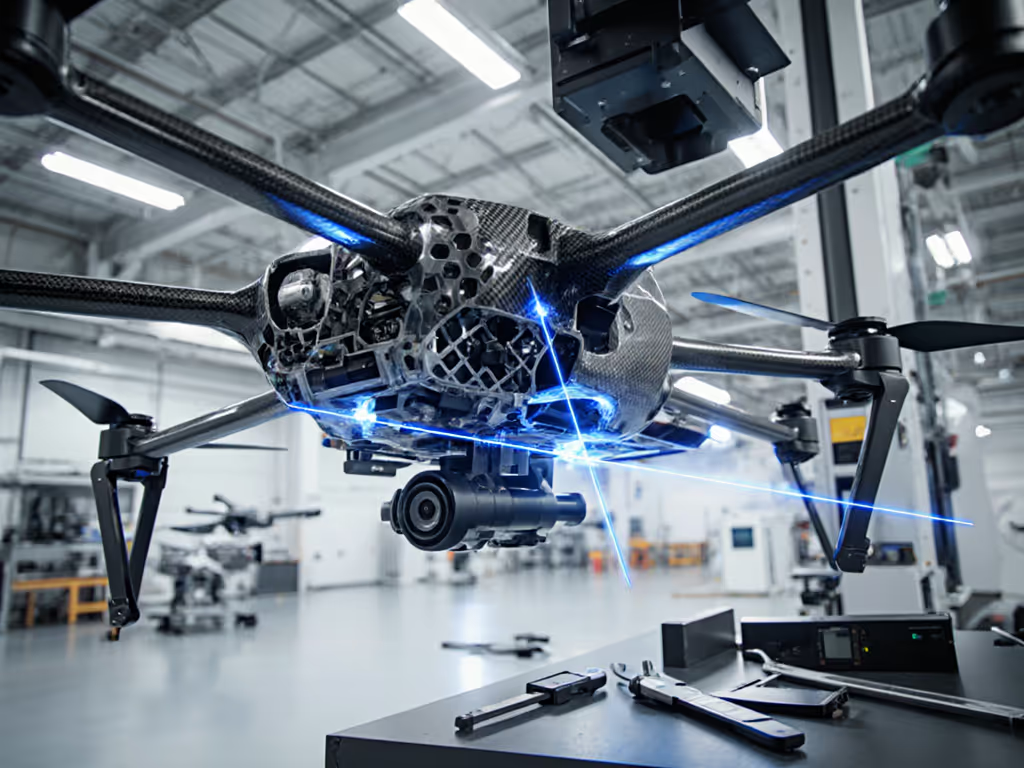
In the rapidly evolving landscape of aerospace manufacturing, drone manufacturing metrology has emerged as a critical discipline for ensuring product reliability and performance. As UAVs transition from niche applications to mainstream industrial use, the precision of measurement systems directly impacts flight safety, component longevity, and regulatory compliance. Modern UAV measurement systems must address the unique challenges of lightweight construction while maintaining traceability to national standards. This precision is not simply about technical capability; it is about converting measurement data into reliable decisions that stand up under audit scrutiny. When we treat measurement as a documented process rather than a momentary action, we transform uncertainty into actionable intelligence.
Why is precise metrology essential in drone manufacturing?
Precision metrology serves as the foundation for drone performance, safety, and regulatory compliance. Unlike traditional aircraft, UAVs operate with significantly tighter weight constraints while maintaining structural integrity under dynamic flight conditions. Every micron of dimensional deviation can impact aerodynamic efficiency, vibration characteristics, and payload capacity.
Consider this risk note: A 0.1mm variation in motor mount alignment can generate harmonic vibrations that degrade sensor performance and shorten electronic component life. Metrology systems must therefore capture not just dimensional data but also functional relationships between components. In my experience, teams that implement measurement systems with documented acceptance criteria early in the design phase reduce NPI delays by 37% compared to those addressing metrology only during production ramp-up.
Evidence beats memory when the audit team asks for proof of dimensional conformance.
What measurement challenges arise with lightweight airframe construction?
Lightweight airframe measurement presents unique challenges due to the materials involved, including carbon fiber composites, titanium alloys, and advanced polymers that exhibit thermal expansion coefficients significantly different from traditional aluminum airframes. These materials often require specialized measurement approaches:
- Thermal sensitivity: Composites can exhibit dimensional shifts of 0.05mm per meter per degree Celsius change
- Part flexure: Thin-walled structures deform under contact measurement pressure
- Surface reflectivity: Carbon fiber creates challenges for optical measurement systems
- Internal structure verification: Critical for composite components where internal defects aren't visible
To address these issues, progressive manufacturers implement environmental controls in metrology labs (±0.5°C stability) and establish evidence links between measurement conditions and recorded data. Revision callouts in measurement procedures must specify not just the instrument but also environmental parameters to ensure repeatability. Controlled language in procedures prevents interpretation errors that could compromise measurement validity.
How should manufacturers approach drone component inspection?
Effective drone component inspection requires more than dimensional verification; it demands functional testing that simulates flight conditions. A comprehensive approach includes:
- Non-contact measurement for delicate components (laser trackers, structured light scanners)
- Dynamic testing of moving assemblies (gimbals, landing gear)
- Interference checks between adjacent components
- Verification of tolerance stacks across subassemblies For large composite airframes and medium-to-large assemblies, see our laser tracker vs portable CMM guide to choose the right large-volume system.
I recall a supplier PPAP scenario where measurements were technically within tolerance, but documentation lacked revision control for the measurement procedure. This triggered a production stoppage despite the components being physically sound. The fix? Rewriting work instructions with explicit version control and evidence requirements, which reduced audit time on that process from 45 minutes to 12 minutes. This experience reinforced that measurement without documentation is merely hope under pressure.
What methods ensure accurate aerodynamic surface verification?
Aerodynamic surface verification requires capturing both macro and micro features that affect airflow. Traditional CMM measurements often miss critical surface characteristics that impact drone performance:
- Boundary layer transitions
- Surface roughness at mating joints
- Microscopic deviations along leading/trailing edges
Advanced manufacturers now implement multi-sensor approaches that combine:
- White light or laser line scanners for full surface mapping
- Coordinate measuring machines for critical datums
- Photogrammetry for large assemblies
- Reference artifacts for ongoing system verification
Establishing acceptance criteria for aerodynamic surfaces requires understanding both dimensional tolerances and functional impacts. A 0.02mm surface deviation might be acceptable in a structural bracket but catastrophic on a propeller blade. This context-specific approach to measurement ensures resources are allocated where they deliver maximum quality impact.
How should payload integration be tested for optimal performance?
Payload integration testing represents one of the most complex measurement challenges in drone manufacturing. Successful integration requires verifying:
- Physical mounting interfaces
- Electrical connections under vibration
- Thermal management during operation
- Center of gravity shifts across payload ranges
- Interference with flight control systems
Forward-thinking manufacturers implement measurement systems that track payload variations through the entire production process. This includes:
- Pre-installation verification of mechanical and electrical interfaces
- In-process checks during integration
- Functional testing under simulated flight conditions
- Post-integration verification of flight characteristics
Teams that treat payload integration as a single measurement event rather than a documented process chain often face field failures that trace back to undocumented "adjustments" during assembly. A conservative approach using proven measurement techniques, not the latest unverified technology, typically delivers more reliable results in production environments.
What documentation practices ensure metrology systems survive regulatory audits?
Audit readiness in drone manufacturing metrology stems from documentation practices that transform measurements into evidence. Key elements include:
- Complete measurement uncertainty budgets for each critical characteristic
- Revision-controlled procedures with clear version history
- Traceable calibration records for all measurement equipment
- Environmental monitoring data linked to measurement results
- Visual evidence of measurement setup (photographs/videos)
During a recent AS9100 audit, a client avoided nonconformances by providing not just measurement results but the complete evidence chain showing how, when, and by whom measurements were performed under specified conditions. This comprehensive approach turned what could have been a major finding into a noted best practice.
Conclusion: Building Confidence Through Documented Precision
Drone manufacturing metrology represents the intersection of cutting-edge technology and disciplined documentation practice. The most sophisticated measurement systems deliver little value if their results cannot be reliably converted into production decisions or defended during audits. As the industry matures, manufacturers who treat metrology as a documented process, not just a technical capability, will gain competitive advantage through reduced scrap, faster certification, and enhanced product reliability.
For further exploration of UAV measurement systems, consider reviewing ASME B89.7.5 standard for measurement uncertainty evaluation in dimensional metrology, or examine case studies from the National Institute of Standards and Technology on composite material measurement challenges. The field continues to evolve, but the principle remains constant: consistent documentation transforms measurement data into business value.

