Calibration Services Market: Why Professional Value Beats DIY Compliance Risks

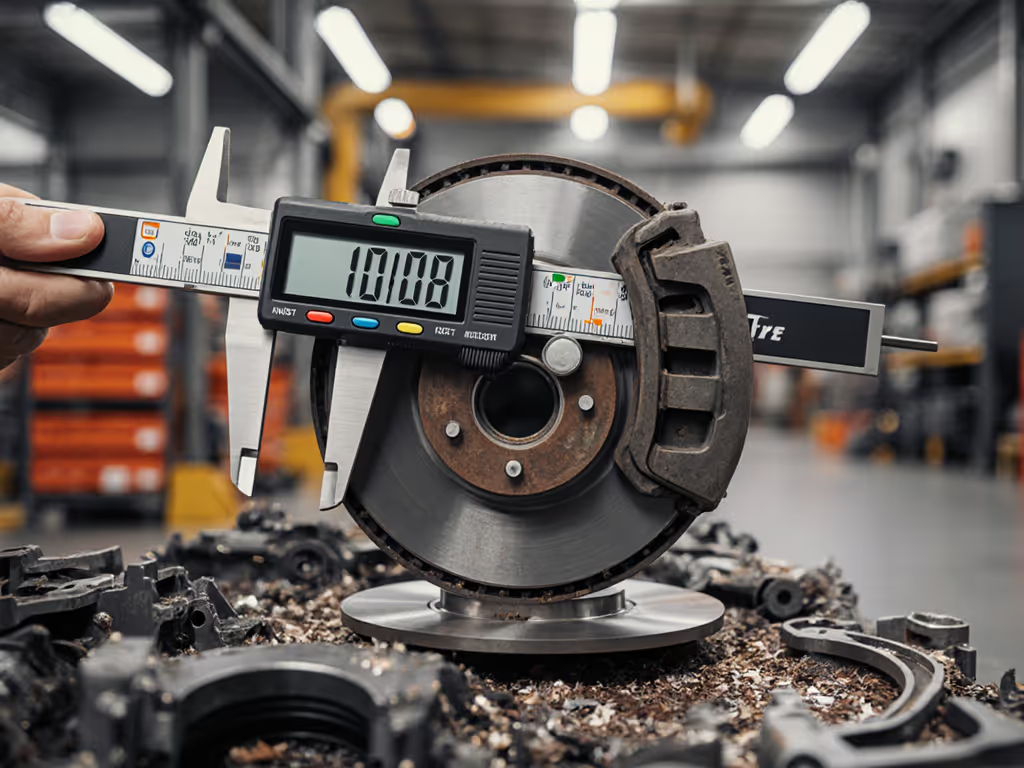
The global calibration services market is projected to reach $9.2 billion by 2033, with a steady 4.5% CAGR. But raw market growth numbers mean little if you're the quality manager facing an AS9100 audit tomorrow. What matters is understanding why the value of professional calibration consistently outweighs the seductive risk of DIY approaches. When your measurement system becomes the audit's focal point (as mine did when a missing revision on a micrometer SOP halted shipments), paperwork flaws reveal themselves faster than instrument drift. This isn't about market size; it's about survival through documented evidence. If "documented evidence" is new territory, start with our measurement traceability guide.
Why do manufacturers consistently underestimate calibration's true compliance cost?
Most shops perform cursory calibration cost analysis focused solely on service fees, ignoring three critical risk factors:
- Hidden audit remediation costs: $7,500 average per finding when certificates lack proper NIST traceability markers (2024 industry survey)
- Scrap/rework premiums: Tolerance stack-ups from unverified instruments increase scrap by 18-32% in aerospace machining
- Production downtime: 4-7 hour delays per line stoppage when auditors question calibration validity
Evidence beats memory when your auditor asks for the environmental conditions log during that critical run last Tuesday. If your thermometer's last calibration certificate lacks temperature stability data, you're negotiating from weakness.
Controlled language matters here: "verified" doesn't equal "validated." An instrument checked against a master gauge (verification) still requires documented uncertainty budgets to meet ISO 9001:2015 clause 7.1.5. Many shops fail because they treat calibration as a transaction rather than a documented process with acceptance criteria.
How can you verify if a provider truly meets ISO 17025 accredited services requirements?
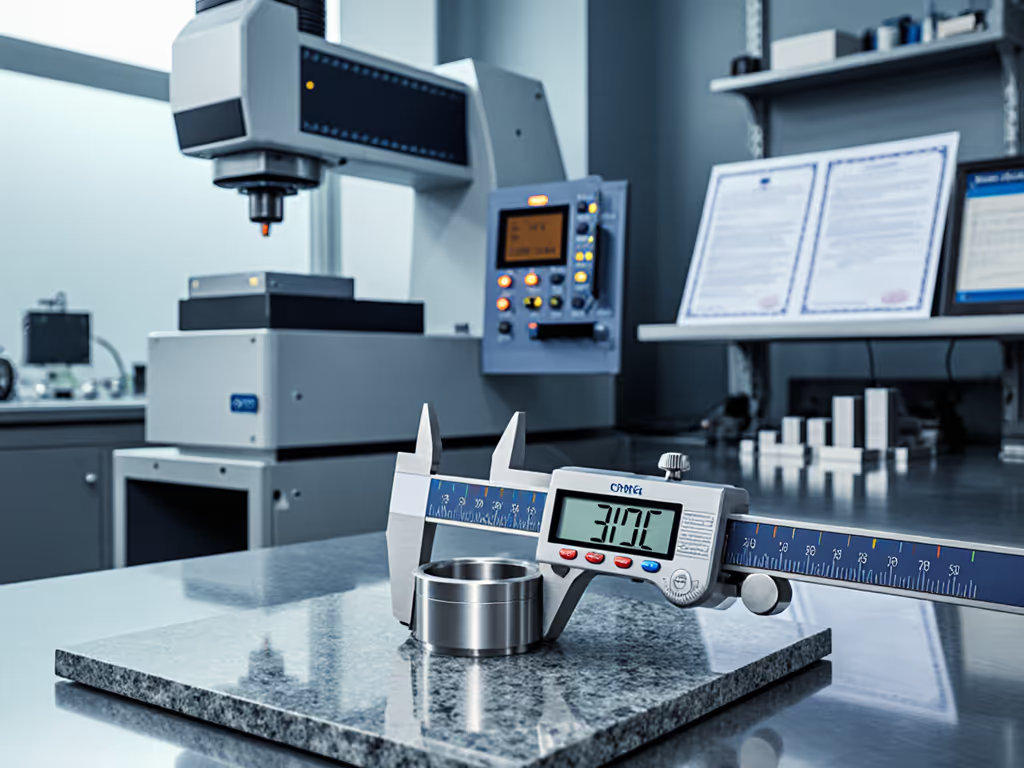
Not all accreditation claims are equal. During a recent supplier assessment, I saw a vendor proudly display their ISO 17025 certificate, only to discover their scope excluded dimensional calibration for tools over 12". Traceability requirements collapse when scope limitations hide in plain sight. Demand these four verification artifacts:
- Scope of accreditation showing exact measurement types and ranges covered
- Uncertainty budgets specific to your instrument class (not generic templates)
- Assessor reports from the accrediting body (not self-issued certificates)
- Revision callouts showing chain of traceability to NIST standards
Risk note: 63% of "accredited" providers in a 2024 quality systems review failed to maintain proper evidence links between calibration points and their reference standards. Check if their certificates include: If you need to build or audit this section, use our uncertainty budget guide to structure evidence correctly.
- Measurement uncertainty values at each test point
- Environmental conditions during calibration
- Competency evidence for technicians
- Equipment ID with current calibration status
Without these, you're just collecting paperwork, not building audit-ready evidence.
Why do in-house calibration programs fail under audit scrutiny?
Your metrology tech might be brilliant, but internal programs routinely collapse when:
- Competency gaps emerge: 78% of labs lack documented GR&R studies for their calibration processes
- Resource constraints prevent proper environmental controls (temperature stability ±0.5°C isn't achievable near shop floor heat sources)
- Documentation drift occurs: SOPs don't reflect actual practice (as in my micrometer SOP incident)
Professional services force rigor through standardized workflows. They build revision control into every certificate, not as bureaucracy, but as protection. When your internal tech "recalibrates" a torque wrench using a method not in your controlled document set, you've created audit risk regardless of measurement accuracy.
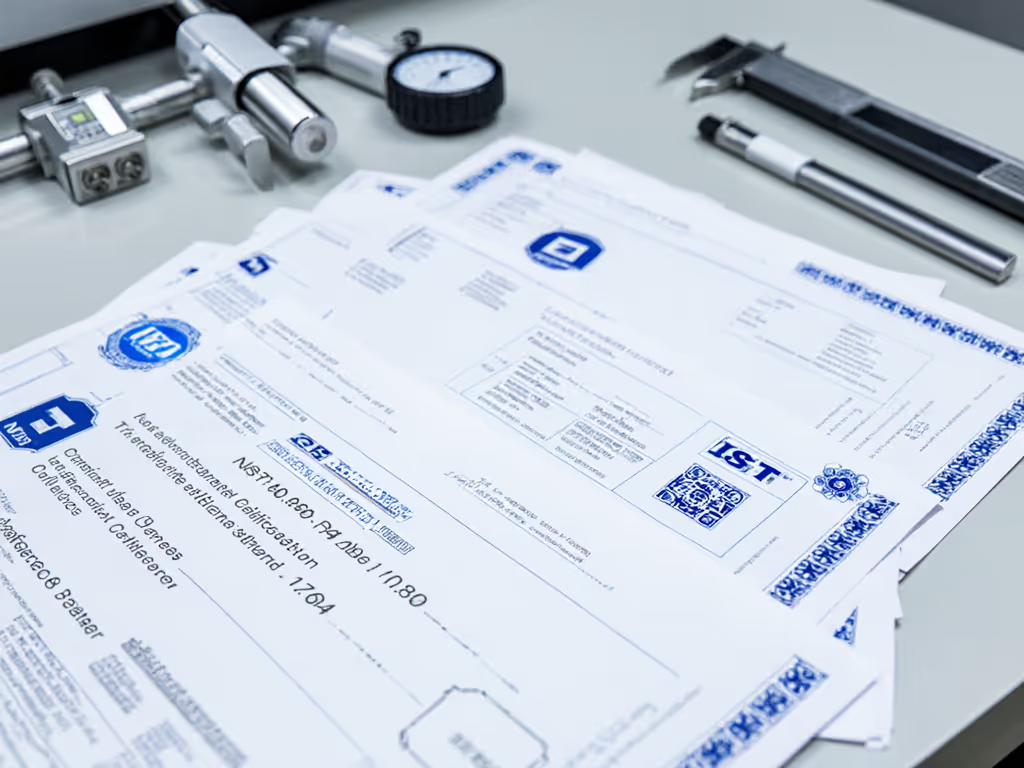
The conservative approach wins here: third-party providers with ISO 17025 accreditation maintain evidence chains your internal team can't replicate. Their business model depends on surviving rigorous assessor reviews, yours doesn't.
What critical questions should drive your calibration service selection?
Move beyond price comparisons with this audit-proof checklist:
| Evaluation Factor | DIY Risk | Professional Service Value |
|---|---|---|
| Certificate validity | Uncertain traceability paths | Documented NIST traceability with evidence links |
| Measurement uncertainty | Often undocumented or miscalculated | Published uncertainty budgets per test point |
| Regulatory compliance | Reactive fixes during audit prep | Built-in acceptance criteria for industry standards |
| Asset management | Manual tracking prone to errors | Integrated calibration management software |
| Technical competency | Limited to staff capabilities | Specialized technicians with documented training |
Key question: Does their certificate include the actual measurement deviations, not just "pass/fail"? If not, you're missing critical data for your uncertainty budgets. This separates professional calibration service selection from commodity shopping. To manage assets, due dates, and certificates without spreadsheets, see our metrology software picks for small businesses.
When does the "cost savings" of DIY calibration become a liability?
The inflection point hits when:
- Your quality system requires documented uncertainty calculations (per AS9100 Rev D)
- Production volumes justify the cost of premium instruments (CMMs, optical comparators)
- Supply chain demands formal evidence of measurement reliability
Calculate your break-even point using this formula:
(Cost of internal program ÷ Annual calibration events) < Professional service rate + Risk mitigation value
Risk mitigation value includes avoided audit findings, reduced scrap rates, and production continuity. For most mid-sized manufacturers, professional services break even when handling more than 150 annual calibration events, or when serving regulated industries where one audit failure costs six figures.
Final Verification: Is Your Calibration Approach Audit-Ready Tomorrow?
Stand in your audit room right now and ask:
- Can I prove every measurement's traceability to national standards?
- Do my certificates show actual deviations (not just pass/fail)?
- Is environmental data recorded for each calibration event?
- Can I demonstrate technician competency for critical measurements?
If any answer is uncertain, you're gambling with hope instead of evidence. As I've learned the hard way: If it isn't documented, it's hope, not evidence under pressure.
The growing calibration services market reflects an industry-wide recognition that measurement integrity requires more than accurate numbers, it demands documented, defensible processes. When your next audit arrives, will you present calibrated evidence or calibrated hopes?
Explore Further
Dive deeper into NIST Handbook 143 for calibration program requirements or study the ILAC P14 guideline on measurement traceability. Your next audit depends not on perfect measurements, but on perfectly documented evidence.

