Metamaterials Metrology: Real-World Measurement of Unusual Properties
By Priya Deshmukh • 21st Jan

When you're handed a part with negative refractive index measurement requirements or tasked with cloaking technology validation, panic sets in faster than a crashed CNC program. Metamaterials metrology isn't just another spec sheet, it is the minefield where traditional measurement habits collapse. And let's be honest: your shop-floor instincts are screaming that this exotic material behavior defies everything you've trained to measure. But here's what seasoned metrology leads discover: metamaterials metrology follows the same human-centered principles as your everyday caliper checks. The difference? You're measuring properties engineered to break physics as we know it. Engineered materials measurement demands the same rigor you apply to runout tolerances, but on steroids.
Why Your Usual Metrology Playbook Needs a Tune-Up
Your Go/No-Go gauges worked fine for yesterday's titanium parts. But when material properties deliberately flip conventional physics ( negative refractive index, reversed Doppler effects, or light-bending cloaking structures ), you're measuring ghosts. Standard traceability paths vanish when your calibration lab's NIST-traceable standards assume positive permittivity. For the foundations behind "traceable to NIST," read our measurement traceability guide. I've seen quality managers sweat during AS9100 audits because their metamaterial characterization data showed 20% variation between labs. The culprit? Not flawed equipment, but inconsistent coupling between measurement probes and the metamaterial's engineered surface structure.
If operators can't repeat it, it doesn't measure.
Just like that digital caliper swap I made years ago (where inconsistent thumb pressure ruined our GR&R despite perfect specs), unusual electromagnetic properties live or die by human technique. The physics might be exotic, but the metrology problem stays brutally simple: repeatability lives in how humans touch tools, not just specs. If that distinction is fuzzy on your team, share our accuracy vs precision explainer.
Your 5-Step Shop-Floor Approach to Metamaterials Metrology
Don't drown in electromagnetic theory. These steps translate lab-grade metamaterial characterization into shift-survivable routines. Print this checklist for your metrology station.
Step 1: Map the Physics to Your Process (No PhD Required)
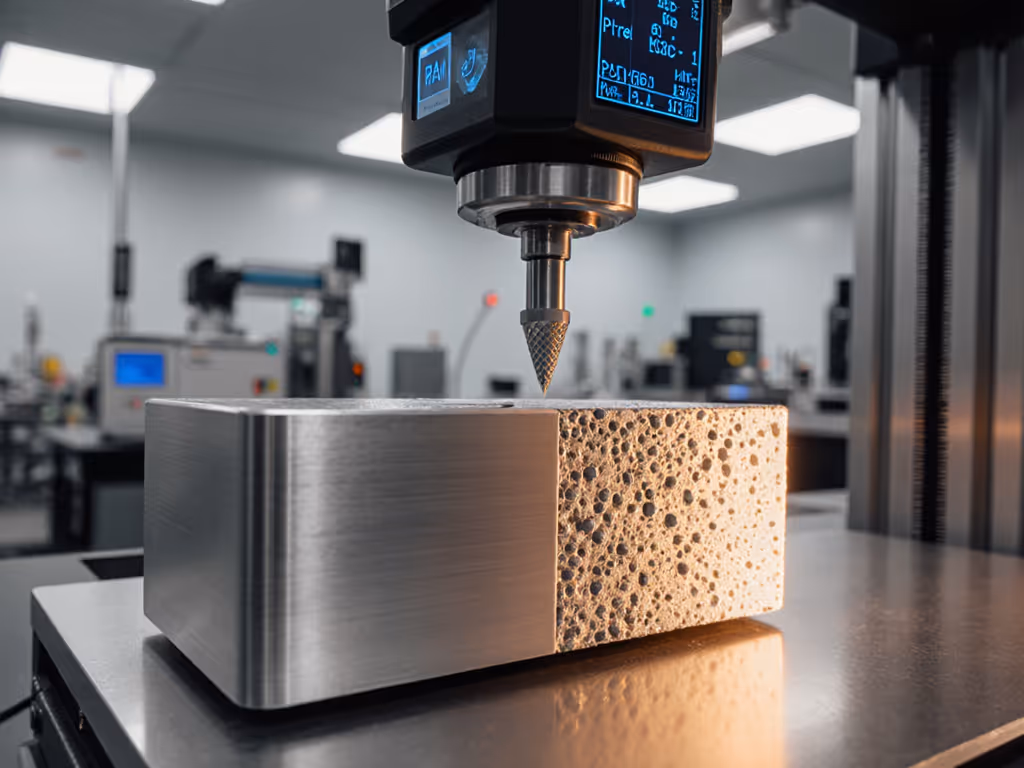
Visual anchor: Sketch a simple signal path from source → metamaterial → detector.
- Ask: "What property breaks conventional physics here?" (e.g., negative refractive index = waves bend toward the normal)
- Connect to shop knowledge: This is no different than mapping thermal expansion into your tolerance stack. Just substitute "wavelength mismatch" for "coefficient of thermal expansion."
- Critical check: Verify your measurement setup accounts for phase shifts. Reflection/transmission coefficients (S-parameters) require phase-aware instruments, like how your height gauge needs Abbe error compensation.
Teach-back cue: "Explain to me why a glass prism helps measure hyperbolic metamaterials like we'd explain coolant temperature control to a new machinist."
Step 2: Control the Invisible Variables Like You Do Temperature
Safety reminder: EM fields won't burn fingers, but bad data burns contracts. Preventable slips like bias, drift, and resolution limits are covered in our measurement error types primer.
Standard labs obsess over permittivity formulas while ignoring shop realities:
- EM interference = Coolant mist: Shield your setup like you'd climate-control a CMM room. Even smartphone RF can skew negative refractive index measurement.
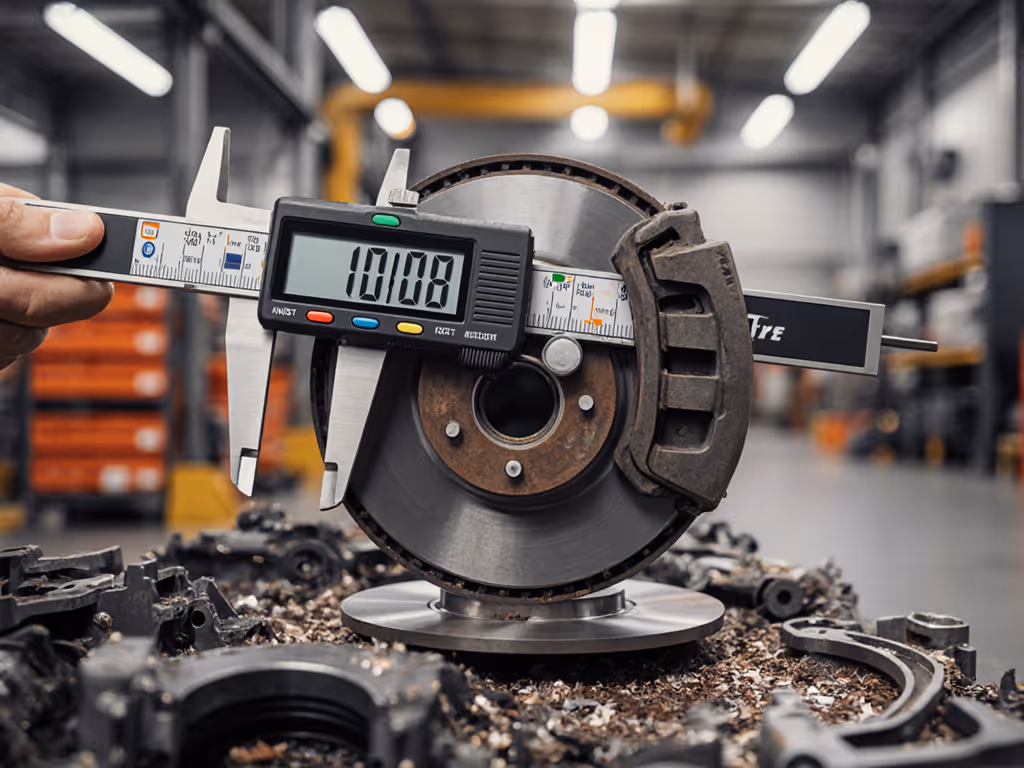
- Probe pressure = Caliper thumb force: Operators pressing probes inconsistently caused our 38%→12% GR&R swing. Specify contact force (e.g., 0.5N) just like you'd torque a bore gauge.
- Environmental logs = Temperature logs: Record ambient EM noise like you track shop temperature. Document WiFi channel usage during measurements.
Operator checklist:
- [] Verify RF shielding integrity (daily)
- [] Calibrate probe force (per shift)
- [] Log adjacent equipment RF emissions (start of shift)
Step 3: Validate with Physical Anchors (Not Just Math)
Your customers don't care about complex permittivity equations. They care if the cloaking device works.
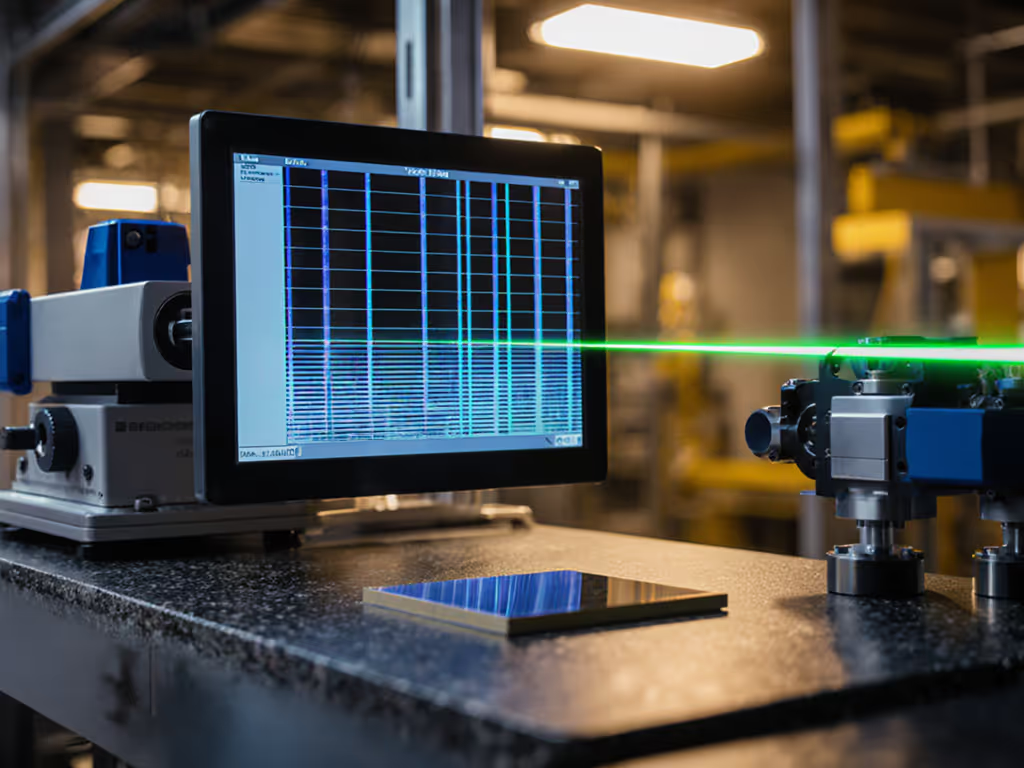
- Smith chart validation = Go/No-Go gauge comparison: Plot measured impedance on a Smith chart like you'd compare a part to master artifacts. Does it hit the "good" zone consistently?
- Phase verification = Dial indicator sweep: When testing cloaking technology validation, measure phase progression across the structure like you'd check surface flatness.
- Critical test: Run your metrology on a known-good metamaterial sample with each operator. If results vary more than 5%, technique (not the physics) is broken.
Teach-back cue: "Show me how you'd catch a drifting network analyzer before it scrapes a $50K prototype run."
Step 4: Train for Technique, Not Theory
Visual anchor: Post a photo of correct probe alignment next to your SPC chart.
Forget teaching Maxwell's equations. Drill these muscle-memory habits:
- Probe alignment: Use shadow illumination like edge-finders to verify perpendicular contact.
- Signal timing: Treat pulse delays like coolant dwell time, specify exact wait periods.
- Data capture: Train operators to say "Data logged" audibly (like verbal Go/No-Go calls).
Train it, then trust it. Last month, a defense subcontractor cut metamaterial characterization time by 40% simply by adding tactile alignment pins to their probe fixtures (no new hardware, just smarter ergonomics).
Step 5: Document for Auditors (Not Physicists)
Your ISO auditor cares about traceability (not tensor calculus). For audit-proof documentation, follow our ISO/IEC 17025 requirements guide. Translate exotic measurements into audit-ready evidence:
- Convert S-parameters to capability indices: Calculate Cpk for phase consistency like you would for hole diameter.
- Map uncertainty budgets: List "EM interference" as a contributor alongside temperature like you do in your MSA reports.
- Include operator technique evidence: Attach photos of correct probe handling in your calibration records.
Operator checklist:
- [] Attach probe force verification sticker to every report
- [] Note adjacent RF sources in measurement log
- [] Verify phase consistency against known sample
Next Steps: Build Your Metamaterials Metrology Muscle
Start tomorrow:
- Grab your least exotic part with tight tolerances, something that already pushes your GR&R.
- Apply Step 2's variable checklist to it (EM interference = vibration, probe force = caliper pressure).
- Train one operator on the tactile alignment technique from Step 4.
Track how much tighter your GR&R becomes. When you've nailed repeatability on conventional parts, metamaterials metrology stops feeling alien. Because exotic physics or not, train it, then trust it. Your shop-floor instincts already know how to measure the impossible; you just need to apply them to new variables. Now go prove it on the floor.
Related Articles