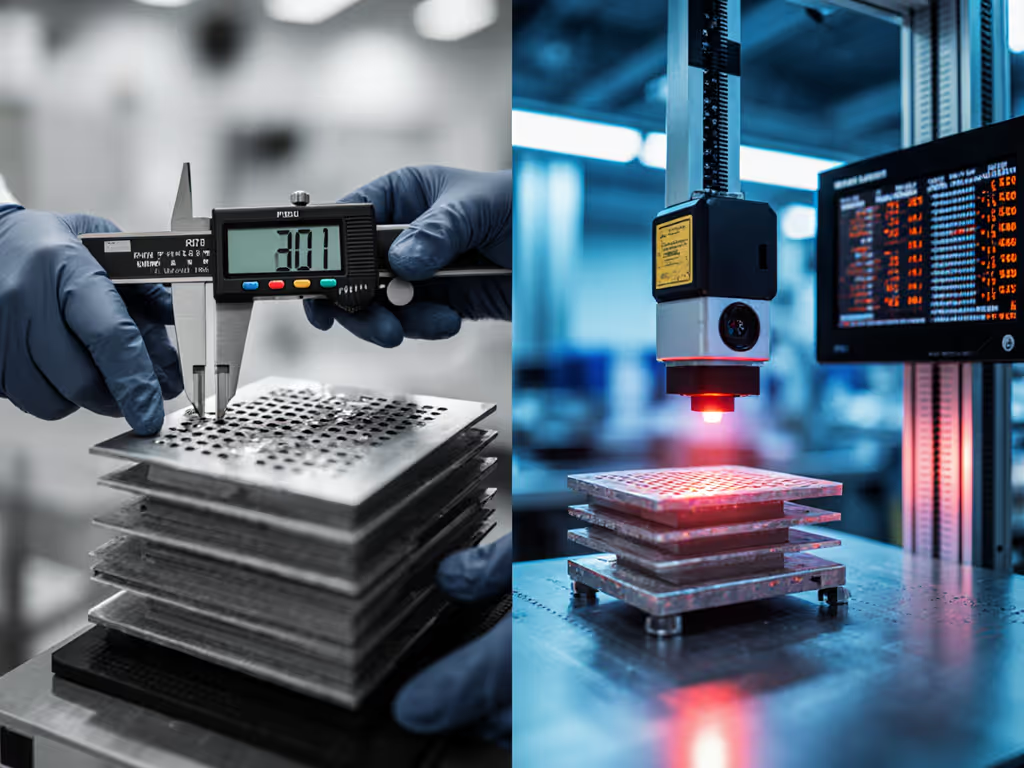
Modular vs Traditional Test Instruments: Tolerance Matching Guide
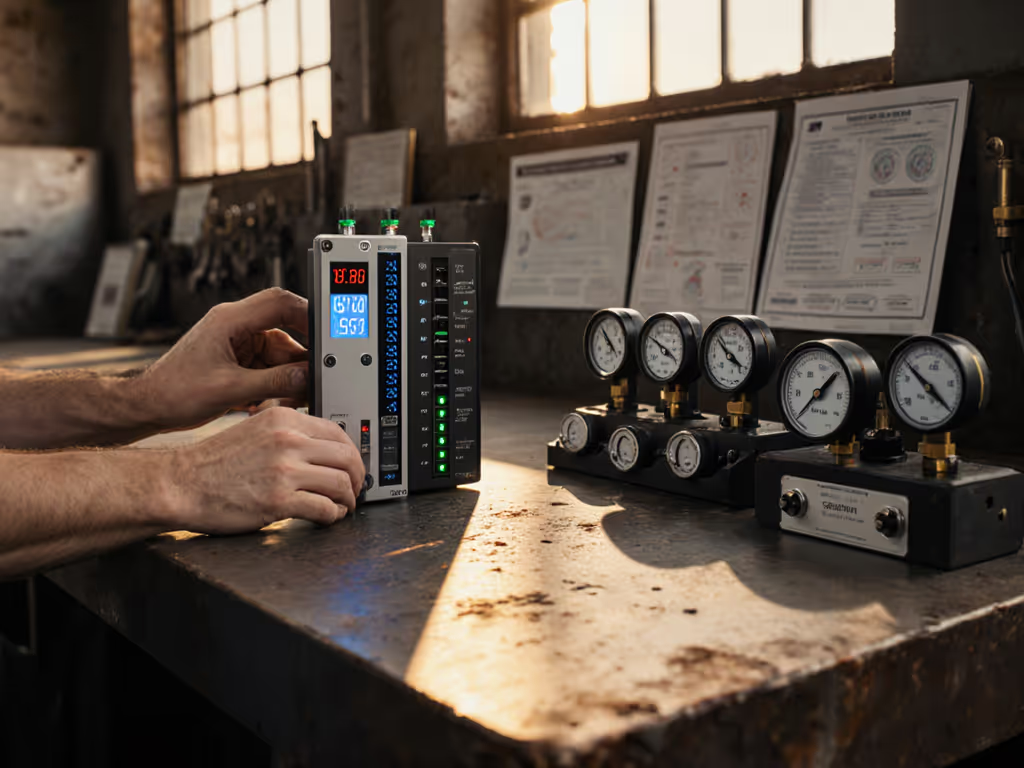
When your CNC operator swipes a digital caliper across a medical implant and calls it "on spec," but your GR&R study shows 35% variation, you're not facing a tool problem (you're facing a tolerance matching crisis). Modular test instruments might promise higher throughput, but software-defined measurement means nothing if your team can't replicate it shift after shift. In today's high-precision shop environment, selecting the right measurement system isn't about chasing specs (it is about matching capabilities to your actual tolerance bands while accounting for human factors, environmental conditions, and maintenance realities). This guide cuts through the marketing fluff to give you a practical framework for choosing between modular and traditional approaches based on what matters most: whether your team can consistently measure what they need to measure, third shift, with gloves on, and coolant dripping on the floor. If you're seeing high GR&R variation, review our measurement error types to pinpoint and reduce the biggest contributors to scrap and rework.
Why Spec Sheets Lie to You on the Shop Floor
Let's be honest: most tolerance matching failures happen because we focus on the wrong numbers. A spec sheet might boast "0.0001" resolution, but if your machinist applies inconsistent probe force (like the team I worked with where finger pressure varied calibration by 0.0005"), that resolution is meaningless. If operators can't repeat it, it doesn't measure.
The Human Calibration Gap
I once watched a quality engineer proudly install a state-of-the-art modular CMM cell, only to see it fail GR&R within weeks. Why? His technicians had been trained to "feel" the contact point on manual indicators for years. When the new system required precise dwell time before reading, they'd rush the measurement (no one had built this step into the workflow). We fixed it with a simple visual anchor: a colored ring on the probe handle that aligned only when pressure was correct. GR&R dropped from 41% to 14% overnight.
This is why your tolerance matching process must start with these operator-first questions:
- "How many steps does it take for my team to get from part to valid reading?" (Fewer steps = fewer errors)
- "What visual or tactile cues prevent technique drift?" (Color coding, resistance points, sound signals)
- "Can this tool be operated with shop gloves?" (If not, you're building failure into the process)
Environmental Reality Check
Tolerance isn't static (it is a moving target in your shop). That "0.0005" accuracy spec assumes 68°F (20°C) room temperature with no vibration. If coolant and fines are in play, make sure your tools' IP ratings match real shop conditions. But what happens when:
- Your shop floor hits 85°F during summer shifts?
- The stamping press 20 feet away creates 0.5g vibration?
- Coolant mist coats lenses and probes?
Create this quick environmental audit checklist:
- Temperature band: Measure actual variation at the workstation over 3 shifts
- Contaminants present: Document coolant, oil, metal fines (specifies IP rating needs)
- Vibration zones: Map equipment that causes floor vibration during operation
- Workflow pinch points: Identify where measurements happen between operations
"Repeatability lives in how humans touch tools, not just specs."
That's why I design measurement into the workflow, not as an afterthought.
Tolerance Mapping: How to Match Instruments to Your Real Needs
The 4:1 Rule (That Nobody Follows Correctly)
The ASME B89.7.3 standard recommends a 4:1 test accuracy ratio (TAR), but most shops misunderstand it. Your instrument's total uncertainty (not just resolution!) must be 1/4 of your tolerance band. Not sure how to compute that total? Build an uncertainty budget before buying. Here's the practical breakdown:
| Tolerance Band | Minimum Required Total Uncertainty | Practical Instrument Class |
|---|---|---|
| ±0.010" | ±0.0025" | Dial indicators, basic digital calipers |
| ±0.001" | ±0.00025" | Precision micrometers, height gages |
| ±0.0001" | ±0.000025" | Gage blocks, CMMs with temperature control |
Critical mistake: Most shops only check resolution against tolerance. A "0.00005" resolution caliper might have ±0.0004" total uncertainty when gloves, temperature, and operator technique are factored in (making it inadequate for a ±0.001" tolerance band).
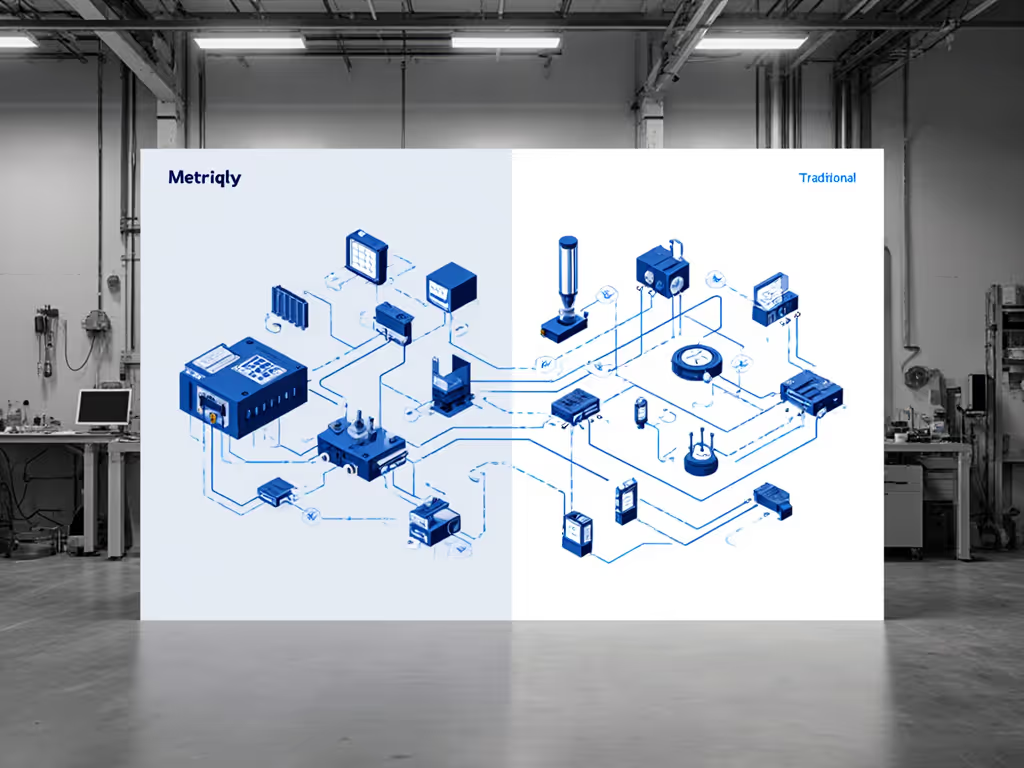
Modular vs Traditional: Where Each Excels

When Modular Systems Deliver
Modular test instruments shine when you need:
- High channel counts (e.g., multi-station production lines)
- Real-time data capture directly to SPC systems
- Software-defined measurement routines that enforce consistent technique
- Instrument upgrade paths without replacing entire systems
Real-world example: An aerospace supplier replaced manual bore gage checks with PXI-based modular sensors. The system's programmable force profile ensured consistent probe pressure across all 12 stations. By designing the measurement into the workflow (not adding it as a separate step), they cut GR&R from 32% to 9% while maintaining takt time.
When Traditional Tools Win
Traditional benchtop instruments often outperform modular systems when:
- Portability matters (moving between cells)
- Rapid troubleshooting is needed (no boot-up time)
- Harsh environments demand ultra-rugged designs (no exposed connectors)
- Minimal training footprint is critical (simple on/off, zero buttons)
Shop-floor insight: That "fragile" benchtop scope? When mounted in a protective cage with a glove-friendly interface, it outlasted three modular versions in our grinding cell where coolant mist killed circuit boards. If you're weighing portability against lab-grade stability, see our fixed vs portable TCO to avoid hidden lifecycle costs.
Building Repeatable Workflows: The Operator Checklist
No instrument, modular or otherwise, performs consistently without designed workflows. Use this operator checklist before finalizing your selection: To keep entries hands-free and error-proof, consider wireless SPC tools that push data directly into your quality system.
Pre-Implementation Verification
✅ Tactile confirmation: Can operators feel when contact is made? (e.g., spring-loaded stops)
✅ Glove compatibility: Test with actual shop gloves (not cleanroom ones)
✅ Teach-back validation: Have operators explain the measurement process in their own words
"We swapped a beloved digital caliper after discovering operators 'thumbed' different pressure. A simple force-limiting device and a two-minute teach-back cut our GR&R from 38% to 12%."
Environmental Hardening
✅ Temperature drift test: Measure the same master gage at shop min/max temperatures
✅ Coolant resistance check: Spray test with actual coolant used in production
✅ Vibration zone mapping: Document where measurements will occur relative to machinery
SPC Integration Readiness
✅ Data flow verification: Confirm readings move directly to your SPC system without manual entry
✅ Error prevention: Does the system prevent out-of-bounds entries? (e.g., won't accept measurement until probe stabilized)
✅ Calibration sync: Can calibration certificates auto-populate your quality management system?
Making Your Decision: A Practical Path Forward
Stop comparing spec sheets. Start matching measurement capabilities to your actual tolerance bands and workflow realities. Here's how to make your decision:
Step 1: Map Your Tolerance Stack
Create a simple spreadsheet showing:
- Part characteristic being measured
- Tolerance band (± value)
- Required GR&R target (<10% ideal)
- Current measurement method
- Environmental conditions at point of use
Step 2: Conduct the "Third Shift Test"
Before finalizing any purchase, run this validation:
- Have your least experienced operator perform 10 measurements on the same part
- Repeat with different gloves/types
- Document ambient temperature during testing
- Calculate actual GR&R using your standard method
If the tool can't pass this test, it doesn't matter how impressive the spec sheet is.
Step 3: Verify True Test Equipment Scalability
Ask vendors these shop-floor questions:
- "How do I add another channel tomorrow without reprogramming?"
- "What happens when this needs to measure a different feature next year?"
- "Show me how to train a new operator in under 15 minutes"
Train It, Then Trust It: Your Actionable Next Step
Don't let measurement uncertainty slow your production. This week:
- Pull one critical measurement from your current production
- Run the Third Shift Test with your existing tool
- Calculate true GR&R including environmental factors
If your repeatability exceeds 20%, you've found your priority for improvement. Whether you need modular test instruments with robust flexible test systems or hardened traditional tools, match the solution to your actual tolerance bands (not the marketing claims). Remember, the best tool is the one your team can use correctly every time, regardless of shift, gloves, or takt time pressure.
"If operators can't repeat it, it doesn't measure."
That's why I design measurement into the workflow, not after. Train it, then trust it.

