Thermal Expansion Measurement: High-Temperature CTE Compared
By Rina Takahashi • 25th May
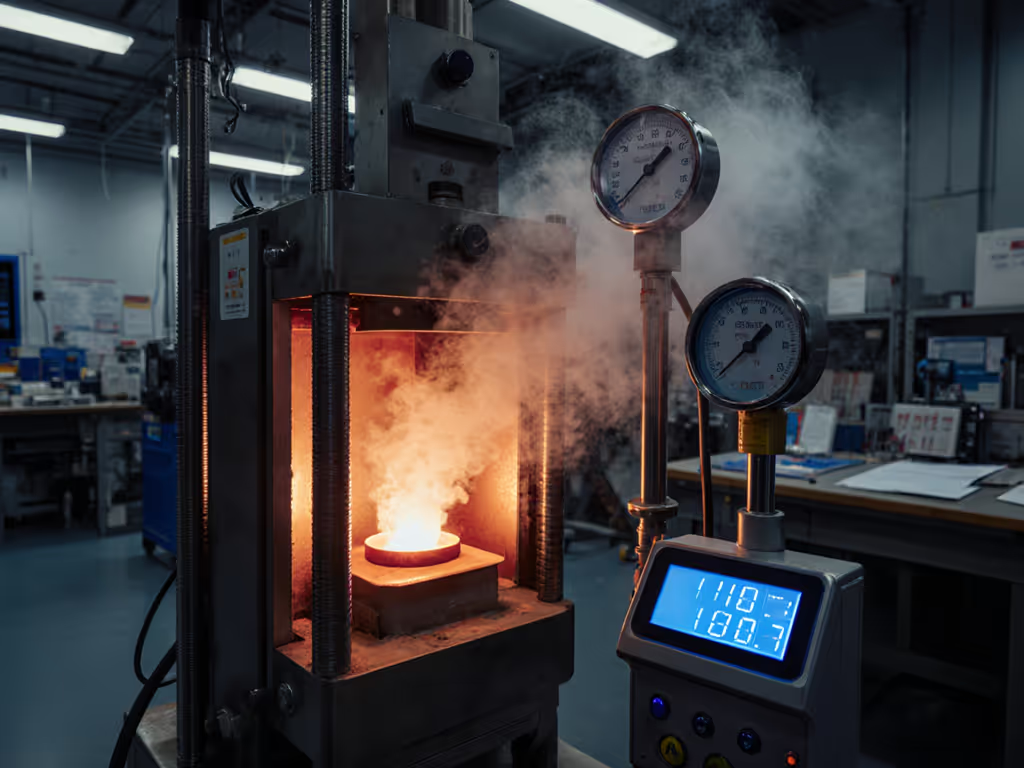
If your parts see real heat (exhaust paths, turbine hardware, brake systems, solder reflow, sterilization), thermal expansion measurement is not a nice-to-have; it's part of your tolerance stack. This FAQ walks through a high-temperature metrology comparison of the main CTE measurement techniques, with an eye toward uncertainty budgets, traceability, and how far you can trust the numbers when the furnace is glowing.
Shop by tolerance stack, environment, and workflow - or accept drift.
I am going to assume you care more about whether the joint still fits at 650 °C than about fancy optics. The questions below are organized so you can map:
- your temperature range and environment
- your dimensional tolerances in service
- the CTE uncertainty you actually need
...to a measurement method and a lab specification that is traceable to a standard.
FAQ: Fundamentals
What exactly are we measuring when we talk about CTE?
The coefficient of thermal expansion (CTE) is the fractional change in length (or volume) per degree of temperature change, at a given pressure and temperature.[1]
- Linear CTE (most common in design): \(\alpha_L = \frac{1}{L} \frac{dL}{dT}\)[1]
- Volumetric CTE for isotropic solids: about 3× the linear CTE in many metals (approximation, not a law).[1]
Three critical, often-missed points:
- CTE is temperature-dependent. There is no single CTE for "Inconel" or "aluminum" across 20-800 °C. You have \(\alpha(T)\), a function, not a constant.
- CTE depends on direction for anisotropic materials (composites, rolled plate, additively manufactured parts). You may need data along multiple axes.
- CTE in datasheets is usually an average over a temperature interval (e.g., 20-300 °C), not the instantaneous derivative. That average may be useless if your critical fit change happens over 450-550 °C where there is a phase change or glass transition.
For real tolerance stacks, you need to know over what temperature range the quoted CTE was measured, how it varies, and whether it is heating, cooling, or both.
Why does high-temperature CTE matter for my parts?
Anywhere you have:
- dissimilar materials in contact (e.g., steel fastener in a Ti flange, ceramic in a metal housing)
- tight clearances at elevated temperature (rotating hardware, seals, valve components)
- thermal cycling (exhaust, aerospace material testing, sterilization, power electronics)
...mismatched CTE drives stress, distortion, and - eventually - cracking or loss of fit.
Specific examples:
- Aerospace material testing: You may design a bolted joint to maintain preload after a 650 °C cycle. If your metallic CTE is off by even 5-10%, predicted clamp load and hole ovalization drift enough to push you out of your margin.
- Electronics and optics: For ceramic-metal packages or mounts, CTE mismatch is a primary driver of solder fatigue and optical misalignment.
- Precision fixtures: Even in a "room temperature" environment, a few kelvin of drift over a long granite span can eat half your tolerance on a critical pattern if you never quantified expansion.
These are where temperature-dependent measurement and a realistic uncertainty budget become more valuable than the marketing line on your drawing that says "CTE per vendor datasheet."
FAQ: Technique Comparison
What are the main high-temperature CTE measurement techniques?
Here is a high-temperature metrology comparison of the most common CTE measurement techniques used in labs and demanding R&D.
1. Push-rod dilatometry (contact, furnace-based)
- Concept: A specimen sits in a tube furnace. As it expands, it pushes a rod coupled to an LVDT, capacitor, or optical encoder.
- Typical range: Ambient up to ~1200-1700 °C (method- and material-dependent).
- Resolution: Sub-micrometer displacement is routine, but practical CTE accuracy is limited by temperature measurement, gradients, and mechanics.
- Strengths:
- Widely used, mature, relatively affordable.
- Good for material expansion verification of metals, ceramics, glasses.
- Easy to get calibrations traceable to a standard using reference materials.
- Weaknesses / risks:
- Contact force can cause creeping or seating errors, especially in polymers or porous ceramics.
- Alignment and rod expansion add systematic errors.
- Temperature gradients along the specimen can dominate your uncertainty budget if the furnace is not well characterized.
2. Optical / laser interferometric dilatometry
- Concept: Measures change in length interferometrically, typically through a furnace window or with a dedicated high-temperature optical path.
- Typical range: Ambient to ~1000-1500 °C, depending on optics and window materials.
- Strengths:
- Extremely high displacement resolution (nanometer scale) with low probe force.
- Lower mechanical hysteresis; better suited where contact force is problematic.
- Weaknesses / risks:
- Instrument resolution does not equal system accuracy; furnace gradients and temperature sensing still dominate. See accuracy vs precision for why this distinction matters.
- Optics require careful alignment and cleanliness; soot, oxidation, or deposits can degrade signals.
- Capital cost and maintenance are higher.
3. Thermomechanical analysis (TMA)
- Concept: Similar to push-rod dilatometry but optimized for smaller loads and materials like polymers, composites, and some metals; often coupled with DSC/other thermal analysis.
- Typical range: Ambient to ~1000 °C (lower for some polymer-optimized systems).
- Strengths:
- Good for temperature-dependent measurement of softening, glass transitions, and through-thickness expansion of laminates.
- Wide choice of probes (penetration, film, expansion).
- Weaknesses / risks:
- Load history and viscoelastic behavior matter; data can be operator- and method-dependent.
- Not the first choice for tight-tolerance aerospace metals at 800+ °C.
4. High-temperature strain gauges on specimens
- Concept: Bond a high-temperature strain gauge to a sample, cycle temperature, read strain vs. temperature.
- Typical range: Up to ~800-1000 °C with specialized gauges/adhesives, sometimes higher in research implementations.
- Strengths:
- Can be applied in situ on real geometries, not just on simple lab coupons.
- Good for comparing different processing routes or surface conditions.
- Weaknesses / risks:
- Adhesive creep, gauge drift, and leadwire effects can swamp true expansion.
- Requires significant expertise in high-temp strain gauging; not a casual DIY method.
5. High-temperature extensometry (mechanical or optical)
- Concept: Use furnace-rated clip-on extensometers or external optical systems to track gauge length on a heated specimen.
- Typical range: Up to ~1200 °C and beyond, depending on hardware.
- Strengths:
- Often available on high-temperature mechanical test frames (creep, tensile, TMF), so CTE can be measured vs. load.
- Can align measurement direction with actual stress direction.
- Weaknesses / risks:
- Instrument designed for strain under load; pure CTE work needs careful procedure to separate mechanical and thermal strain.
- Contact tips or knife edges can indent soft, hot materials.
6. Digital image correlation (DIC) at high temperature
- Concept: High-temp optics and cameras look at a speckle pattern on the specimen surface through furnace windows; software tracks full-field deformation.
- Typical range: Up to ~1000-1200 °C with correct optics and patterning.
- Strengths:
- Full-field strain map; can see non-uniform expansion, bending, warpage.
- Powerful for complex shapes and assemblies.
- Weaknesses / risks:
- Temperature gradients visible in the strain field can be disturbing if you hoped for 1D behavior.
- Pattern stability, window distortion, and thermal shimmer all affect accuracy.
The method with the smallest displacement resolution is not automatically the best; your limiting factor at high temperature is almost always temperature measurement and uniformity, not the readout device.
FAQ: Choosing by Tolerance and Temperature
How accurate does my CTE measurement really need to be?
Work backwards from your tolerance stack. For a broader decision framework, see our tolerance-matched tool selection guide.
-
Determine the dimensional change that matters.
Example: You have a 200 mm fit length that must stay within ±20 µm at 500 °C relative to room temperature. -
Estimate the expected expansion. Suppose nominal \(\alpha = 12 × 10^{-6} /K\) over a 480 K rise.
\(\Delta L = L · \alpha · \Delta T ≈ 200 \text{ mm} · 12 × 10^{-6}/K · 480 K ≈ 1.15 \text{ mm}\). -
Your allowed error in predicted expansion is ±20 µm, or about ±1.7% of the total expansion.
So you need your effective CTE over that range known to roughly ±1-1.5% (k ≈ 2), assuming other contributors (machining, fixturing) don't consume the whole error budget. That implies:
- well-characterized furnace gradients
- calibrated thermocouples or RTDs placed where the specimen actually is
- stable, repeatable alignment and loading
If your tolerance is loose - for example, a gasket groove where ±0.2 mm is acceptable and total expansion is around 2 mm - then a ±10% CTE uncertainty is often fine, and a simpler, cheaper method or even a trusted handbook value may be acceptable.
Which technique should I pick for different scenarios?
Use technique choice to buy down uncertainty where it matters most.
| Scenario | Recommended primary method | Notes |
|---|---|---|
| Aerospace metal alloy, 20-800 °C, tight fit (±1-2% CTE needed) | High-quality push-rod or optical dilatometry | Demand full uncertainty budget and reference materials; avoid uncharacterized gradient errors. |
| Ceramics/glasses up to 1200-1500 °C | High-temperature dilatometry (push-rod or optical) | Pay attention to atmosphere (air vs. inert) and phase changes. |
| Polymers/composites near Tg or melt | TMA | Method must specify load, heating rate, and specimen prep. |
| Qualifying weld procedure or process route | Dilatometry + selective strain-gauge or extensometry checks | Lab CTE plus on-part verification. |
| Complex assemblies, warpage mapping | High-temp DIC | Use to validate uniformity assumptions used in 1D tests. |
The pattern here: start with a well-characterized lab technique, then use in situ or more complex methods to validate your assumptions on real parts.
FAQ: Uncertainty, Drift, and Real-World Behavior
What goes into an uncertainty budget for high-temperature CTE?
Building an explicit uncertainty budget forces you to decide where to invest effort. Main contributors:
- Temperature measurement:
- Thermocouple/RTD calibration error.
- Temperature gradients along the specimen (often the largest term).
- Lag between furnace control reading and actual specimen temperature.
- Length measurement:
- Resolution and calibration of the displacement transducer.
- Expansion of push rods, fixtures, and frames.
- Misalignment or bending (Abbe-type error in linear setups).
- Sample-related:
- Initial length measurement uncertainty.
- Microstructural inhomogeneity, porosity, anisotropy.
- Surface condition (especially for optical methods and DIC).
- Procedural:
- Heating/cooling rate (can cause thermal gradients and non-equilibrium behavior).
- Load or contact force effects (creep, seating).
- Statistical:
- Repeatability (same operator, same setup).
- Reproducibility (different day, different operator, or different lab).
For high-value programs, ask your lab for a CTE vs. temperature curve with error bars and a brief uncertainty budget listing dominating terms and assumptions (e.g., "Assumes axial temperature uniformity within ±1 K over 20-800 °C; load 0.2 N; argon atmosphere.").
Why don't lab numbers match what we see on the shop floor?
Two recurring reasons:
- The lab sample is not the part.
- Different heat treatment, grain size, or residual stress.
- Different orientation (rolling direction) from critical dimension in the assembly.
- The lab environment is not the field.
- Lab test is in uniform temperature; the part sees steep gradients (hot face/cool back).
- Lab is in air; your part operates in vacuum, inert gas, or under mechanical load.
I have seen entire batches scrapped because a "20 °C reference" assumption was violated by a summer heat wave, and the surface plate drift was never characterized. Once we logged temperature, humidity, and expansion and re-baselined the lab references, the CMM and the floor gages finally agreed. That same mindset applies here: without environment data, your CTE is just a hopeful line on a plot.
A practical workflow:
- Use the lab to get baseline, traceable CTE data on production-representative coupons.
- Build a simple thermal model of your assembly using that CTE.
- Instrument an early hardware build (thermocouples, selective strain gauges, or DIC) to measure actual displacements/strains in service.
- Iterate: if the model and field data disagree beyond your error bars, refine both the CTE data and the thermal model.
FAQ: Working with Labs and Specifications
What should I specify when I send material for CTE testing?
If you simply say "measure CTE," you'll get whatever default method the lab uses. To make the data usable in your tolerance stack, specify at least:
- Temperature range and step: e.g., 20-800 °C in 25 °C steps, heating and cooling.
- Atmosphere: air, vacuum, inert gas, controlled humidity, etc.
- Heating/cooling rate: slower rates reduce gradients but cost time.
- Orientation: along rolling direction, transverse, through-thickness, or fiber direction for composites.
- Specimen geometry and finish: cross-section, length, surface prep, edge constraints.
- Load/contact conditions: particularly for TMA and push-rod methods.
- Number of cycles: at least one pre-cycle to stabilize seating, then one or more recorded cycles.
- Required uncertainty / tolerance: e.g., "Target ±2% (k=2) on average CTE over 20-650 °C."
- Traceability: demand calibrations and reference materials traceable to a standard suitable for your range.
If the lab cannot provide at least a basic uncertainty statement and calibration references, they are not doing metrology; they are doing metallurgy with rulers.
What documentation should I ask for to survive an audit?
For ISO 9001/AS9100/ISO/IEC 17025 contexts, keep a consistent package:
- Test method and revision (e.g., reference to an ASTM/ISO method if applicable).
- Instrument model and calibration dates.
- Reference materials used, with their certificates and validity.
- Environmental conditions and atmosphere.
- Raw or tabulated length vs. temperature data, not just averaged CTE.
- A plot of CTE vs. temperature with error bars or a stated expanded uncertainty.
This allows you to:
- defend your CTE assumptions during design reviews
- rerun analyses if your temperature envelope changes
- repeat or transfer the method to another lab
FAQ: Practical Playbook and Next Steps
How do I turn all this into a simple playbook?
Here is a minimal, repeatable flow I recommend for most organizations dealing with elevated temperature:
- Define the temperature envelope of your critical dimensions.
- Quantify the tolerated dimensional change at that temperature (in µm or mm, not adjectives).
- Translate that into required CTE accuracy (e.g., ±2% over 20-650 °C).
- Choose a primary lab method that can realistically hit that accuracy with a documented uncertainty budget.
- Specify test conditions explicitly to the lab (range, atmosphere, orientation, rate).
- Validate on real hardware for at least one design: compare predictions to measured displacements/strains.
- Standardize and document: put the chosen method, lab, and data format into your internal procedures.
Shop by tolerance stack, environment, and workflow - or accept drift.
Where should I go from here?
For further exploration, the most productive next steps are:
- Build a small set of reference coupons from your key alloys and processing routes.
- Commission one solid round of CTE measurement across your relevant temperature ranges using a lab that can supply an uncertainty budget.
- Correlate those lab results with one real assembly test where you measure actual displacements/strains in a representative thermal cycle.
Once you have that triangle - lab CTE, hardware behavior, and a written method traceable to a standard - you can make confident, defensible decisions about when handbook values are "good enough" and when a fresh test is cheaper than another field failure.
From there, you are not just buying instruments; you are engineering a thermal measurement capability that will keep your fits, seals, and clearances where they belong when the temperature climbs.
Related Articles